Printable heat transfer paper is an excellent medium for adding custom designs to any fabric. With this versatile paper, you can create unique pieces of clothing, accessories, and home décor that reflect your personal style. Whether you're a seasoned crafter or just starting, using printable heat transfer paper on any fabric is easier than you think. In this article, we'll guide you through the process from start to finish, so you can create personalized pieces that will make you stand out.
What is Printable Heat Transfer Paper?
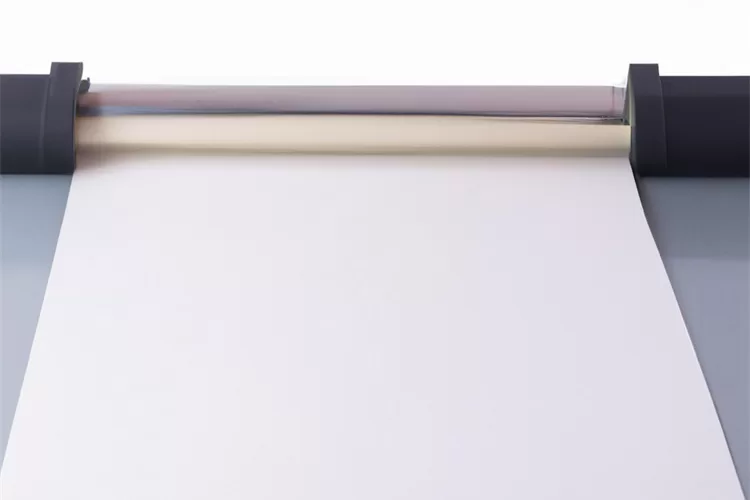
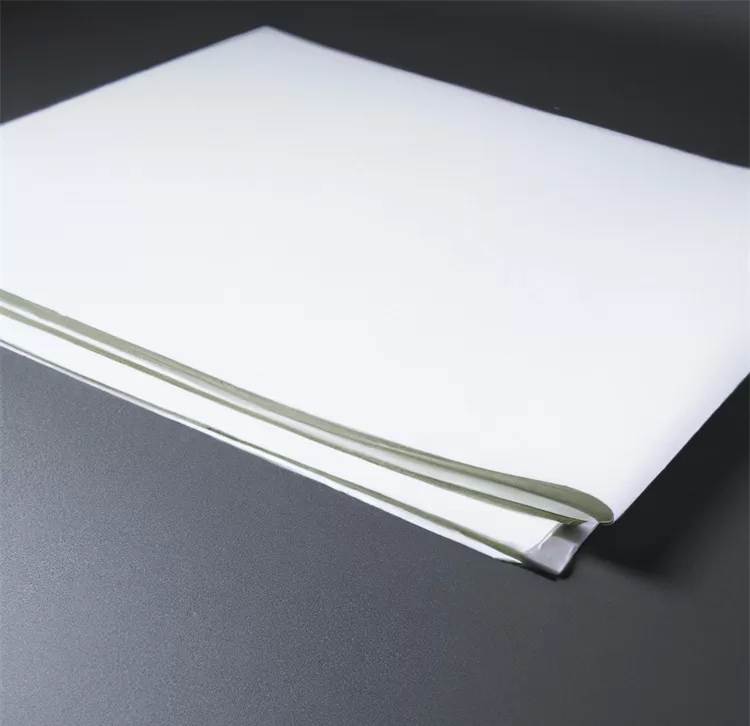
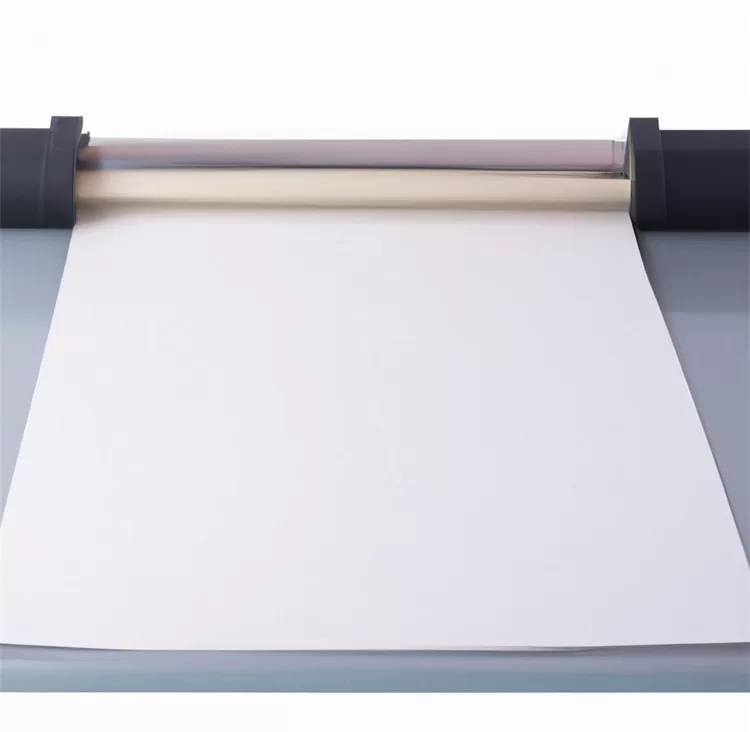
Printable heat transfer paper is a type of paper that allows you to transfer designs onto fabric using heat. The paper has a special coating that reacts to heat and transfers the design onto the fabric. It can be used with an inkjet or laser printer, depending on the type of paper you choose.
How to Choose the Right Printable Heat Transfer Paper
When selecting printable heat transfer paper, there are a few things to consider. First, choose the right type of paper that is compatible with your printer. Inkjet printers require inkjet heat transfer paper, while laser printers require laser heat transfer paper. Second, consider the color of the fabric you are using. If you are using a dark-colored fabric, you will need to use a dark transfer paper. If you are using a light-colored fabric, you can use a light transfer paper.
The Process of Using Printable Heat Transfer Paper on Any Fabric
Step 1: Choose Your Design
The first step is to choose the design you want to transfer onto your fabric. You can use any design, photo, or text that you like. If you're not sure where to start, there are many online resources for free printable designs that you can use.
Step 2: Print Your Design
Print your design onto the printable heat transfer paper. Be sure to follow the instructions that come with your paper to ensure that you achieve the best results.
Step 3: Cut Out Your Design
Cut out your design, leaving a small border around the edges. This will help to prevent any white areas from showing up on your fabric.
Step 4: Preheat Your Fabric
Preheat your fabric using an iron. This will help to remove any wrinkles and ensure that your fabric is smooth and ready for the transfer.
Step 5: Position Your Design
Position your design onto your fabric. Be sure to place it exactly where you want it to appear on your final product. Once you have positioned the design, use heat-resistant tape to secure it in place.
Step 6: Apply Heat
Apply heat to your design using an iron, heat press, or other heat source. Be sure to follow the instructions that come with your paper to ensure that you apply the correct amount of heat.
Step 7: Peel Away the Paper
After applying heat, let the transfer cool for a few seconds. Then, carefully peel away the paper backing from your design. If any parts of the design are not fully adhered to the fabric, place the paper back onto the design and apply more heat.
Step 8: Enjoy Your Personalized Fabric
Once you have peeled away the paper, you will be left with your personalized design on your fabric. Enjoy your new creation and show it off to the world!
Conclusion
Using printable heat transfer paper on any fabric is a fun and easy way to add a personal touch to your clothing, accessories, and home décor. By following these simple steps, you can create customized pieces that are unique to you. Remember to choose the right type of paper, print your design correctly, preheat your fabric, position your design correctly, apply heat, and peel away the paper carefully. With a little practice and creativity, the possibilities are endless.