Sublimation printing offers a fantastic way to personalize and create unique designs on various substrates, including mugs. Sublimating your design onto a mug allows you to showcase your creativity and produce eye-catching, vibrant results. In this article, we will provide a step-by-step guide on how to sublimate your design to a mug, ensuring a successful and professional-looking outcome.

Materials You Will Need:
Sublimation printer
Sublimation ink
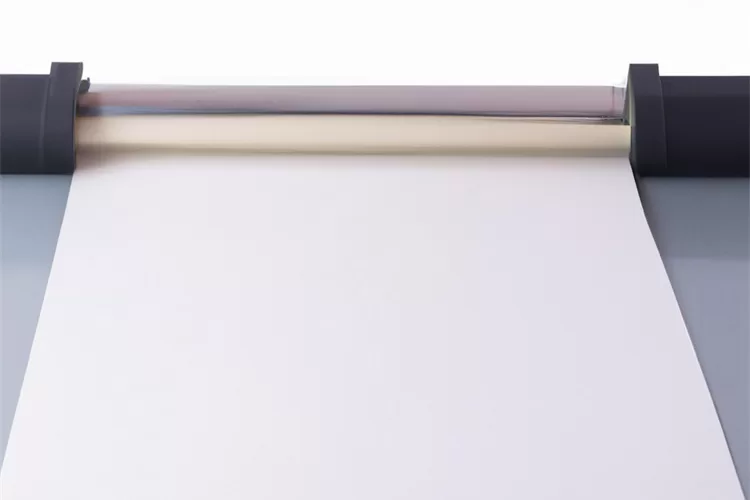
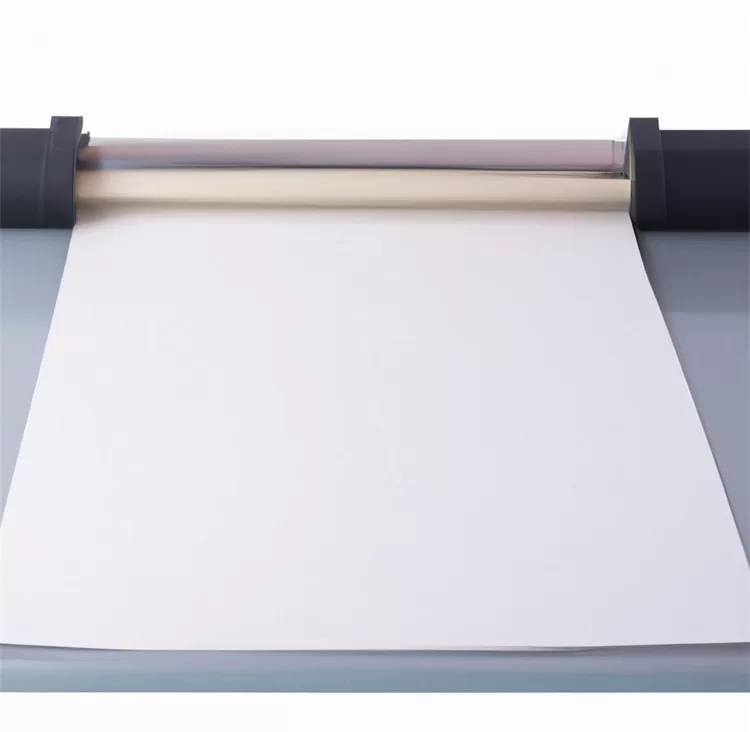
Sublimation paper
Heat-resistant tape
Heat-resistant gloves
Heat press machine
Heat-resistant pad or silicone wrap
Clean, white ceramic mug
Heat-resistant adhesive spray (optional)
Protective paper or Teflon sheet
Step 1: Design and Prepare Your Artwork
Using graphic design software, create or import your desired design. Ensure that the artwork is the appropriate size and resolution for the mug. Adjust colors and elements as needed to achieve the desired result. Mirror the design horizontally before printing, as it will be flipped during the sublimation process.
Step 2: Print Your Design
Load sublimation ink into your sublimation printer and print your mirrored design onto sublimation paper. Make sure to use high-quality sublimation paper specifically designed for mug printing.
Step 3: Prepare the Mug
Ensure that the mug is clean and free from any dust, dirt, or oils. You can wipe it down with a lint-free cloth and some rubbing alcohol to ensure a pristine surface. If using heat-resistant adhesive spray, lightly spray the mug and let it dry for a few seconds.
Step 4: Secure the Design
Wrap the sublimation paper tightly around the mug, ensuring that the printed design is positioned correctly. Use heat-resistant tape to secure the paper in place. The tape will prevent any movement during the transfer process.
Step 5: Preheat the Heat Press
Preheat your heat press machine to the recommended temperature for mug sublimation. Refer to the instructions provided by the manufacturer or follow the general guidelines for mug sublimation.
Step 6: Transfer the Design
Place a heat-resistant pad or silicone wrap onto the bottom plate of the heat press machine. Carefully position the mug with the secured sublimation paper onto the pad. Ensure that the design is facing the desired direction.
Step 7: Apply Heat and Pressure
Close the heat press machine, applying firm and even pressure. Set the timer according to the recommended duration. The heat and pressure will activate the sublimation ink, causing it to transfer from the paper to the mug.
Step 8: Remove and Cool the Mug
Once the timer goes off, carefully open the heat press machine and remove the mug using heat-resistant gloves. Place it on a heat-resistant surface to cool down. Avoid touching the printed area until the mug has completely cooled.
Step 9: Remove the Sublimation Paper
After the mug has cooled, remove the heat-resistant tape and peel off the sublimation paper. You should see your design transferred onto the mug, resulting in a vibrant, durable, and professional finish.
Step 10: Final Touches
Inspect the transferred design for any imperfections or smudges. If needed, gently clean the mug with a soft cloth and warm water to remove any residue. Admire your customized sublimated mug, ready to be used or gifted.

Sublimating your design onto a mug is a rewarding and creative process. By following this step-by-step guide, you can achieve professional-looking results and enjoy the satisfaction of seeing your personalized design come to life. Remember to store your sublimated mugs properly by avoiding abrasive materials when cleaning and handwashing them to preserve the longevity of the design.
With these simple steps, you can easily sublimate your design onto a mug and create personalized and customized items that make perfect gifts or promotional items. Let your creativity shine through sublimation and enjoy the process of turning a plain mug into a unique masterpiece. Happy sublimating!