kenteer

How Hot Melt Powder Transforms Thermal Transfer Printing?

Hot melt powder has revolutionized the thermal transfer printing process, enabling the creation of high-quality, vibrant, and durable prints. In this article, we will explore how hot melt powder works, from the melting process to adhesion to the substrate. We'll uncover the secrets behind its ability to produce exceptional printing results, such as clarity, color saturation, and durability. Additionally, we will provide valuable tips and advice to help readers optimize their printing results using hot melt powder.

The Melting Process: Transforming from Solid to Liquid State

Hot melt powder undergoes a fascinating transformation when subjected to heat during the thermal transfer printing process. It is designed to melt and flow smoothly, facilitating the transfer of ink onto the substrate. The article will delve into the melting process, explaining how the hot melt powder is heated by a heat source, such as a hot roller or a heated print head. We will discuss the ideal temperature range for melting the powder and how it transitions from a solid to a liquid state.

Adhesion to the Substrate: Creating Strong and Lasting Bonds

One of the key advantages of hot melt powder is its ability to form strong adhesion to the substrate, resulting in durable prints. This section will explore the adhesion process, highlighting the mechanisms by which the melted hot melt powder bonds with the substrate's surface. We will discuss factors such as surface tension, molecular interactions, and cooling processes that contribute to the formation of a robust bond between the powder and the substrate.
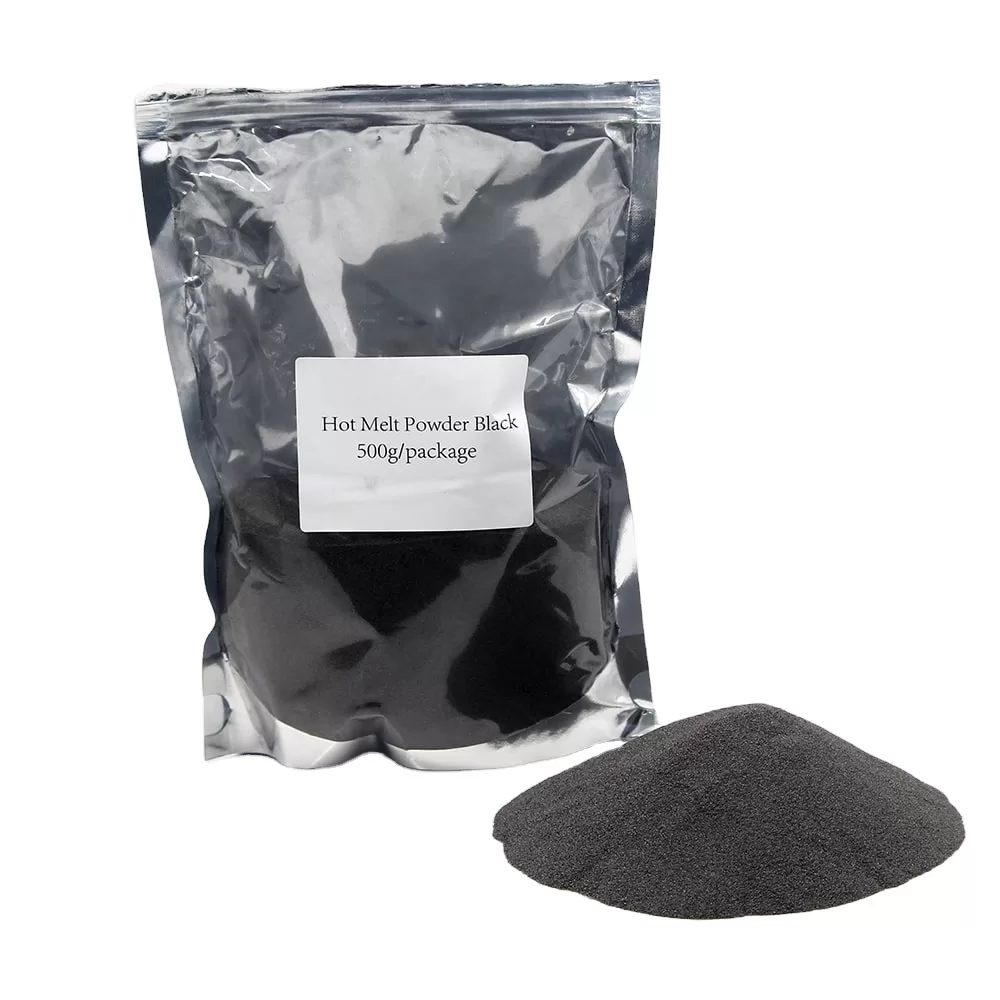
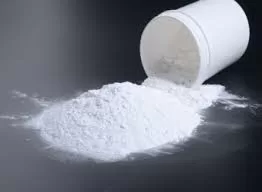
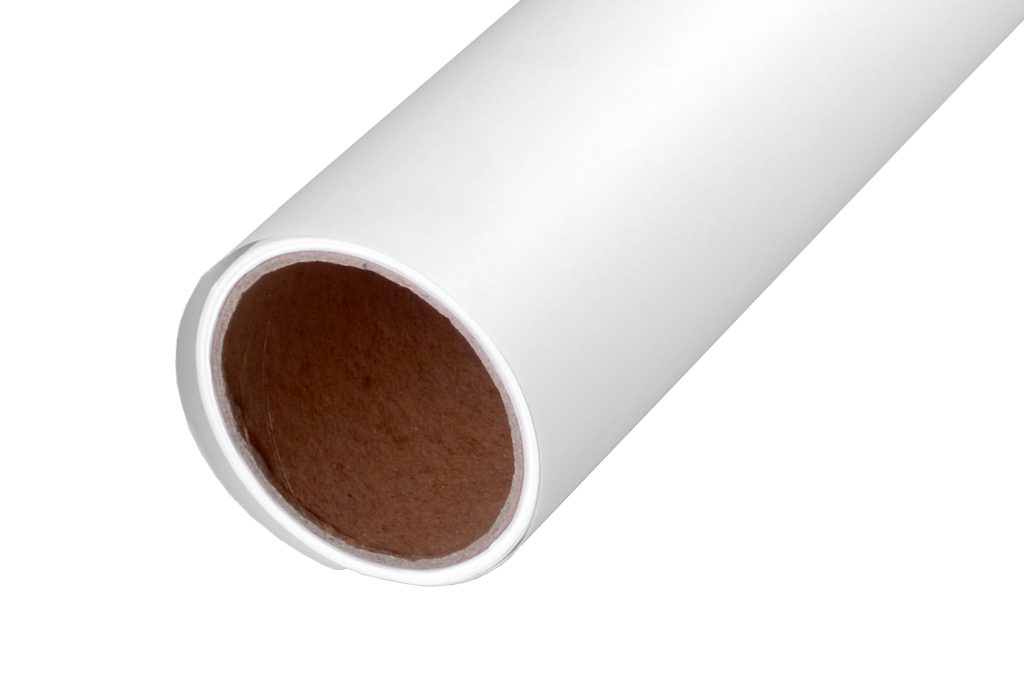
Hot Melt Powder

Achieving Clarity, Color Saturation, and Durability

Hot melt powder plays a crucial role in delivering exceptional printing results. This section will focus on the specific attributes that contribute to clarity, color saturation, and durability in thermal transfer prints.

3.1 Clarity: Hot melt powder enables the creation of sharp and precise prints. We will explain how the powder's ability to melt uniformly and flow smoothly contributes to the clarity of text, graphics, and fine details in the printed output. We'll also address the importance of selecting the appropriate powder-to-ink ratio to achieve optimal clarity.

3.2 Color Saturation: Hot melt powder enhances the color saturation of prints, resulting in vivid and vibrant images. We'll discuss how the powder's compatibility with inks and substrates allows for optimal color transfer. Tips on selecting powders that maximize color vibrancy and saturation will be provided.

3.3 Durability: Prints created with hot melt powder are renowned for their durability. This section will explain how the strong adhesion formed by the melted powder ensures excellent durability, making the prints resistant to smudging, fading, and general wear and tear.

Tips and Advice for Optimizing Printing Results

To help readers achieve the best possible printing results using hot melt powder, this section will provide practical tips and advice:
4.1 Powder-to-Ink Ratio: Finding the right balance between the amount of powder and ink is crucial for optimal printing results. We will guide readers on determining the appropriate powder-to-ink ratio, considering factors such as substrate type, desired print density, and color accuracy.

4.2 Temperature and Pressure Settings: Adjusting temperature and pressure settings during printing can significantly impact the quality of the prints. We will provide insights into optimizing these parameters for different substrates and inks to achieve the desired clarity, color saturation, and adhesion.

4.3 Substrate Preparation: Proper substrate preparation is vital for achieving optimal adhesion. We will offer advice on cleaning and pre-treating substrates to ensure the best possible bonding between the hot melt powder and the surface.
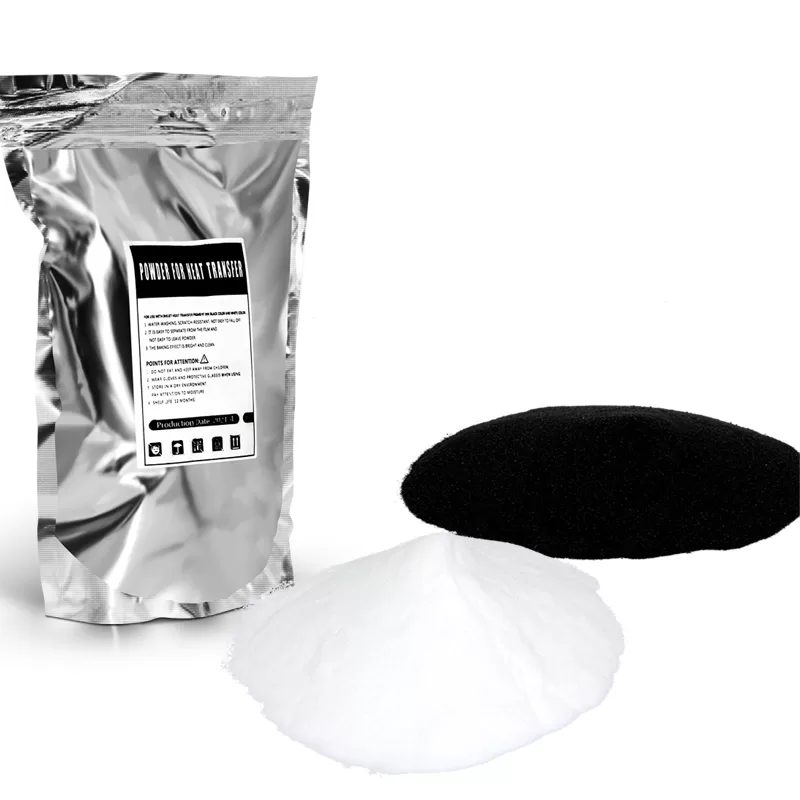
Hot Melt Powder

Conclusion:
Hot melt powder's ability to melt, adhere to substrates, and deliver exceptional printing results is nothing short of magic. Understanding the melting process, optimizing adhesion, and leveraging the powder's attributes can result in prints with exceptional clarity, color saturation, and durability. By following the provided tips and advice, readers can unlock the full potential of hot melt powder in thermal transfer printing, ensuring their prints stand out with brilliance and longevity.

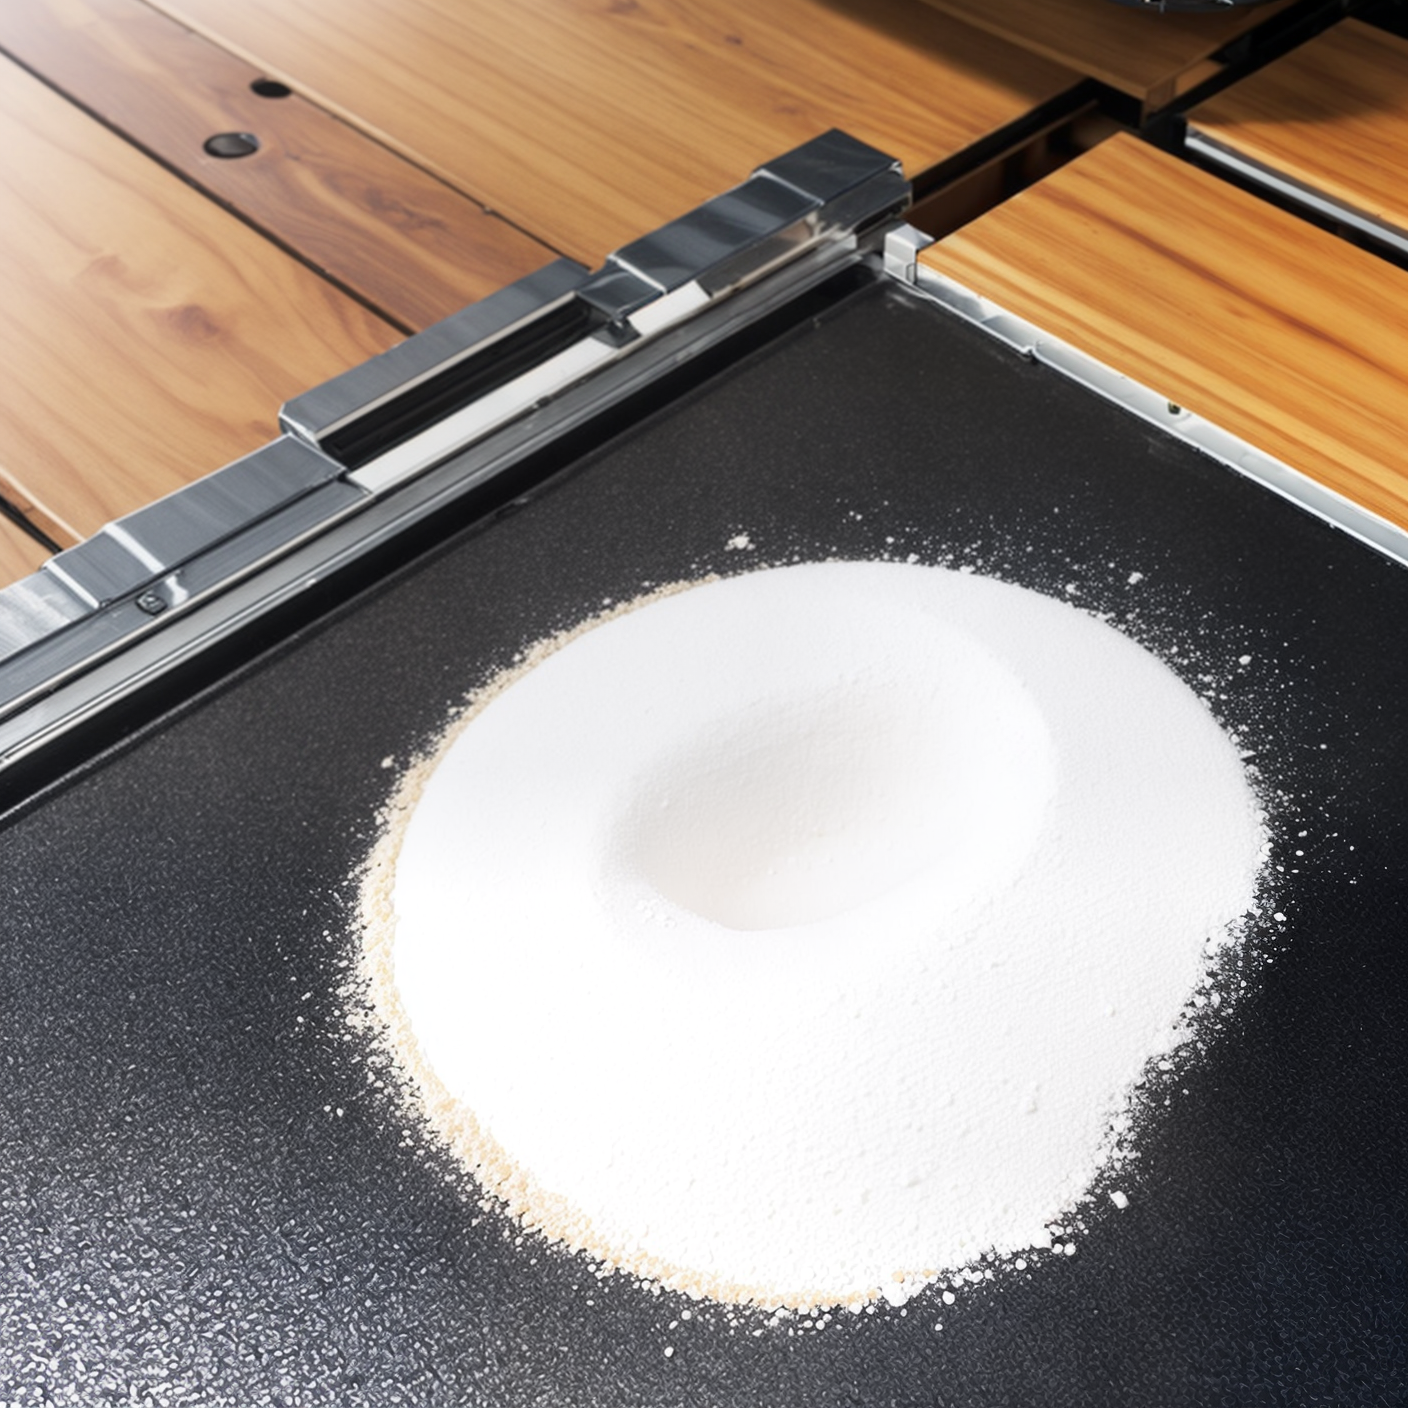
Application fields and innovative technologies of hot melt powder

Hot-melt powder has become a common material in various industries and has completely changed the traditional printing process. Here we learn about the wide range of applications of hot melt powders, including textile printing, packaging materials and label manufacturing. In addition, the latest innovations such as special effect and functional hot melt powders are delved into, demonstrating their transformative impact on product design and the printing industry.

Textile Printing: Enhancing Creativity and Durability

Hot melt powders have been a game changer in textile printing, enabling vibrant and long-lasting designs. This section focuses on the benefits of hot melt powders for textile applications such as enhancing color saturation, improving adhesion to fabrics and ensuring excellent wash fastness. It also explores innovations such as 3D effects achieved with special effect hot melt powders, foil foiling and embossing.

Packaging Materials: Ensuring Safe and Sustainable Packaging

Hot melt powders play a key role in the packaging industry, ensuring safe and environmentally friendly packaging solutions. This section explores how hot melt powders can be used to manufacture various packaging materials such as corrugated boxes, cartons and flexible packaging. It highlights the superior bond strength and resistance to temperature changes offered by hot-melt powders, as well as the potential for functional hot-melt powders to provide additional functionality such as antimicrobial properties or moisture resistance.

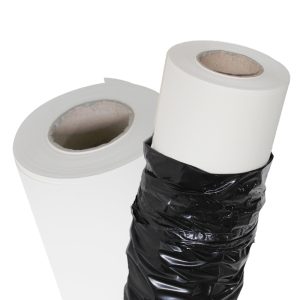
hot melt adhesive powder

Label Manufacturing: Precision and Customization

Hot melt powders have revolutionized label manufacturing, enabling precise and customizable designs. This section takes an in-depth look at the use of hot melt powders in label production, including applications such as pressure sensitive labels, shrink sleeves and RFID labels. It explores the advantages of hot melt powders, such as excellent adhesion to different substrates, compatibility with a wide range of inks, and the ability to produce high-resolution graphics and fine text details.

Special Effect Hot Melt Powder: Unleashing Design Possibilities

This section showcases the innovative potential of special effect hot melt powders in various industries. It explores the unique effects that can be achieved with these powders, such as holographic finishes, metallic accents, glitter and matte finishes. This article discusses how these special effect powders enable brand differentiation, product personalization and eye-catching designs, making them popular in industries such as cosmetics, beverages and luxury packaging.

Functional Fusible Powders: Adding Value and Performance

The article highlights the emerging field of functional hot-melt powders that provide properties beyond adhesion. It discusses functions such as flame retardancy, UV resistance, conductivity, and antibacterial properties, expanding the application possibilities of hot-melt powders. This section explores how these powders can improve product performance, durability and safety in various industries, including electronics, automotive and medical devices.

Hot melt powders continue to push the boundaries of printing and packaging, revolutionizing the industry with their versatile applications and innovative technologies. From textile printing to packaging materials and label manufacturing, hot melt powders provide enhanced durability, creativity and performance. Furthermore, with the advent of special effects and functional hot-melt powders, the possibilities for unique designs and additional features are expanding, enabling businesses to create fascinating products in today's competitive market.

Why DTF PET film lacks color when printing patterns?

DTF (direct to film) PET film printing is popular for its versatility and high quality results. However, a common problem faced by DTF PET film printer owners is the lack of color vibrancy and intensity of printed images. This lack of color can be frustrating and affect the overall visual appeal of a printed product. Together today we will explore some of the key factors that lead to a lack of color in DTF PET film prints and examine solutions.

Why DTF PET film lacks color when printing patterns?

Why DTF PET film lacks color when printing patterns?

Insufficient ink density

One of the main reasons for the lack of color in DTF PET film printing patterns is insufficient ink density. Colors may fade or fade if ink is applied too thinly or insufficiently layered. Make sure your printer settings and ink density are adjusted correctly to achieve the desired color intensity. Experiment with different ink density settings and test prints to find the best balance between ink consumption and vivid color reproduction.

Incorrect color profile

Color profiles play a vital role in ensuring accurate color reproduction in DTF PET film printing. If the color profile is not set correctly or does not match the combination of printer, ink and PET film, it may cause the color to lack vibrancy. Check that the correct color profile is selected and calibrated correctly for your particular printer and ink system. Consider consulting a color expert or utilizing color management tools to ensure accurate color profiles for vibrant print results.

Incompatible inks and PET films

Using incompatible inks or PET films can also cause DTF prints to lack color vibrancy. Make sure the ink and PET film are specially formulated to be compatible with each other. Certain ink and PET film combinations may not interact optimally, resulting in inconsistent or reduced color intensity. Choose ink and PET film products from reputable manufacturers and ensure compatibility with product specifications or compatibility testing.

Ink curing or drying is insufficient

Improper curing or drying of the ink can affect the color vibrancy of images printed on DTF PET film. Incomplete curing or insufficient drying time of the ink may result in color casts or muted colors. Make sure the printer settings and curing or drying process are properly calibrated according to the ink and PET film manufacturer's recommendations. Consider using specialized curing equipment or following specific drying guidelines for optimal color vibrancy.

Poor image quality or resolution

The quality and resolution of the printed image can affect color vividness. Low-resolution images or images with insufficiently saturated colors may result in dull prints. Take advantage of high-quality, high-resolution images with vibrant color representation for optimal print results. Color correction and image enhancement techniques are performed, if necessary, to ensure final prints are vibrant in color.

Printer Maintenance and Performance

Regular printer maintenance is essential for optimum performance and color reproduction. Clogged printheads or ink lines can affect ink flow and cause inconsistency or lack of color vibrancy. Follow the manufacturer's recommended maintenance procedures, including cleaning and printhead maintenance, to ensure smooth ink flow and vibrant color output.

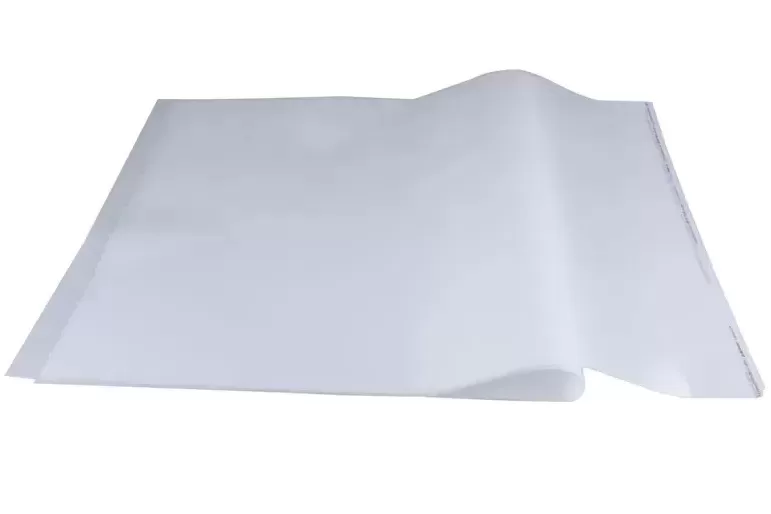
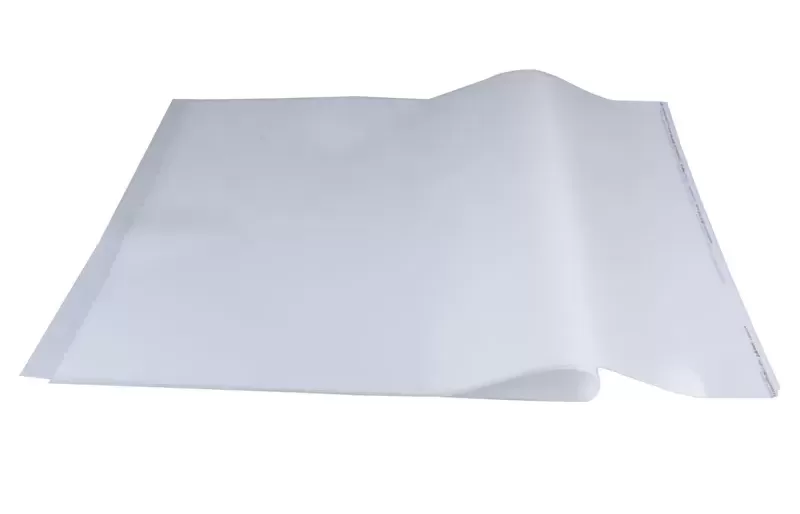
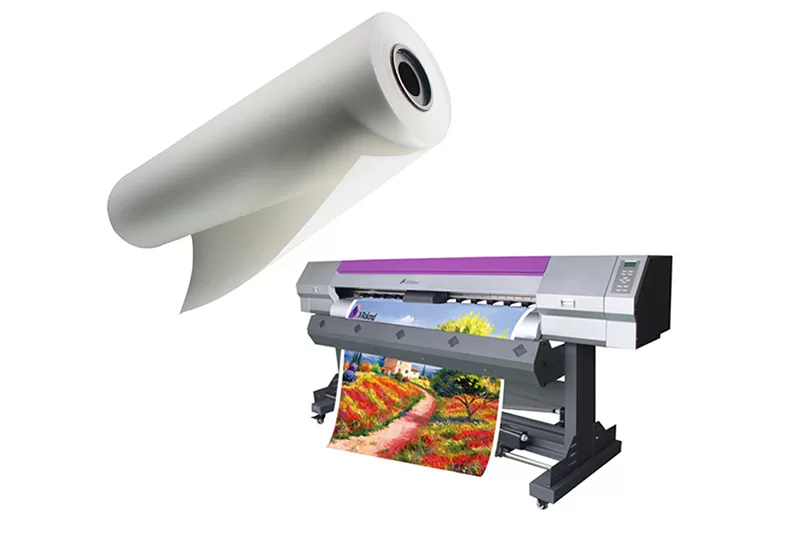
pet film dtf a3

So, lack of color vibrancy in DTF PET film printed graphics can be attributed to a number of factors including insufficient ink density, incorrect color profile, incompatibility of ink and PET film, insufficient ink curing or drying, poor image quality or resolution, and printer maintenance problem. By addressing these factors and implementing appropriate solutions such as adjusting ink density settings, using correct color profiles, ensuring compatibility between inks and PET films, optimizing curing or drying processes, using high quality images, and maintaining printers, DTF PET film printer owners can achieve vibrant and visually appealing color results. Remember to experiment, consult an expert, and follow manufacturer guidelines to achieve the best color reproduction in DTF PET film printing.

7 Effective Tips to Prevent DTF Inkjet Printer Print Head Clogging

DTF (Direct to Film) inkjet printers are popular in the textile printing industry for their high efficiency and high quality output. However, a common challenge faced by DTF printer owners is clogged printheads. When a printhead becomes clogged, it can result in poor print quality, wasted ink, and increased maintenance costs. To help you keep your DTF inkjet printer performing at its best, we've put together seven effective tips to prevent clogged printheads.

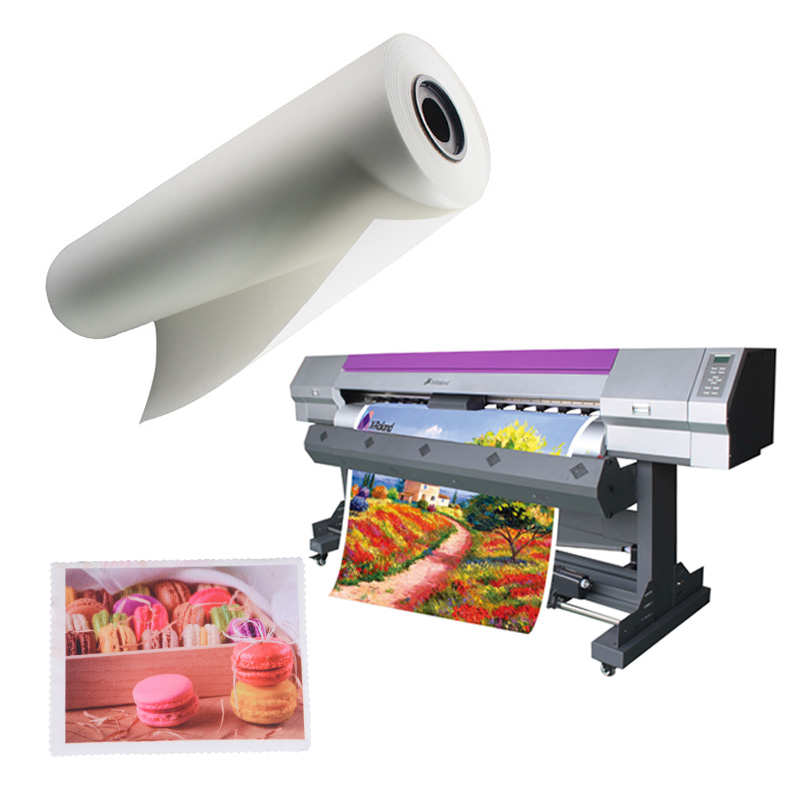
dtf printing paper

use high quality ink

One of the main causes of clogged printheads is the use of low-quality or incompatible inks. Always use inks that are specifically prepared for DTF printing from reputable manufacturers. High-quality inks will have the correct viscosity and chemical composition to minimize the risk of clogging and ensure a smooth flow of ink through the printhead.

keep the printer clean

Regular cleaning of DTF printers is very important to prevent clogging. Follow the manufacturer's guidelines for cleaning the printer and printhead. Remove dust, debris, or dried ink residue from the printheads with a soft, lint-free cloth or the specified cleaning solution. Avoid using abrasive materials or applying excessive force, which may damage delicate printhead components.

Regular maintenance

In addition to daily cleaning, perform the periodic maintenance tasks recommended by the printer manufacturer. It might include cleaning ink lines, running an automatic cleaning cycle, or replacing worn parts. Following a maintenance schedule will help prevent clogs and prolong the life of your printer.

Maintain Optimal Humidity Levels

Humidity plays a vital role in preventing the ink inside the printhead from drying out. Extreme humidity levels may cause clogging or excessive ink flow. Designed to maintain moderate humidity in the printing environment, typically between 40% and 60%. Monitor humidity levels with a hygrometer and consider using a dehumidifier or humidifier to adjust as needed.

Store Ink Properly

Improper storage of ink can cause it to degrade and then clog the printheads. Follow the ink manufacturer's storage instructions, including temperature and light conditions. Make sure the ink cartridges are well-sealed when not in use and used within the recommended shelf life to maintain optimum print quality.

regular print

Regular use of a DTF printer will help prevent the ink from drying out and clogging the printer nozzles. If the printer is not used for a long time, the ink may dry out and clog. To avoid this, perform regular maintenance and printing or nozzle inspection and testing according to the manufacturer's recommendations. Printing a small design or test pattern every few days will help keep the ink flowing smoothly.

Perform a Nozzle Check and Printhead Alignment

Regularly checking nozzle status and aligning the printheads is important for optimal print quality and to identify any potential clogs. Most DTF printers provide built-in utilities for nozzle checking and printhead alignment. If you notice any irregularities such as missing lines or inconsistent colors, address them immediately to prevent further clogging.

Therefore, a combination of good ink management, regular maintenance, and adherence to manufacturer guidelines is needed to prevent clogged DTF inkjet printer printheads. The risk of clogging can be significantly reduced by using good quality ink, keeping the printer clean, maintaining optimum humidity levels, storing ink properly, printing regularly, and aligning nozzle checks and printheads. Following these tips will not only guarantee better print quality, but will also extend the life of your DTF inkjet printer, saving you time and money in the long run.

Factors Affecting the Printing Speed of PET Film Printers

PET film printers have revolutionized the printing industry by enabling high-quality and efficient printing on various applications. However, understanding the factors that influence the printing speed of PET film printers is crucial for optimizing productivity and meeting production deadlines. In this article, we will explore the key factors that impact the printing speed of PET film printers and discuss strategies to enhance efficiency.

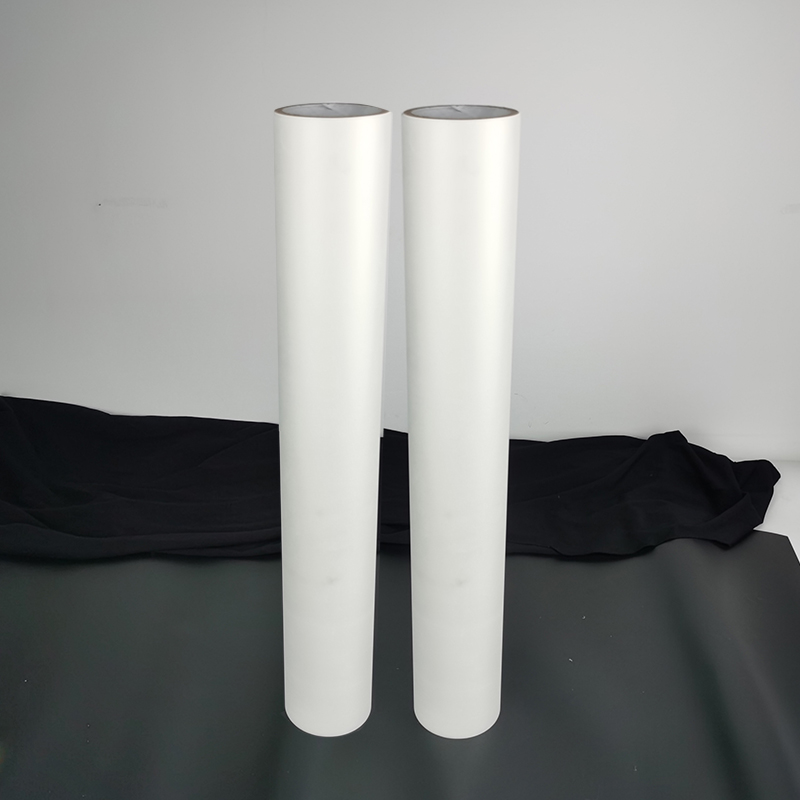
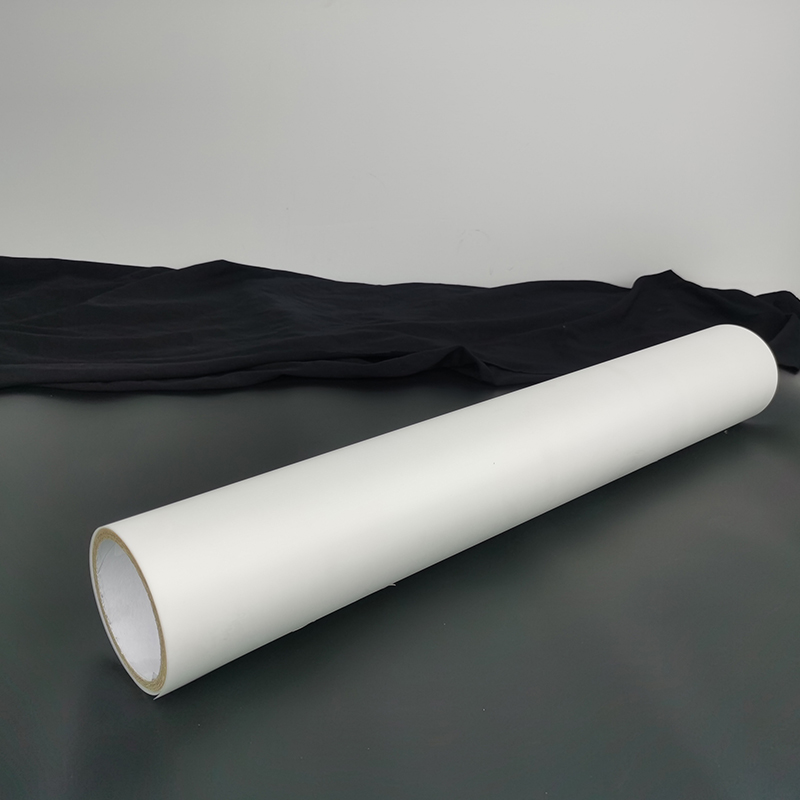
dtf roll pet film
 

Print Resolution: One of the primary factors affecting printing speed is the chosen print resolution. Higher print resolutions require more ink droplets and finer details, resulting in a slower printing process. To increase printing speed, consider using a lower print resolution when appropriate, especially for applications where fine details are not crucial. Balancing print resolution and desired output quality can help optimize printing speed without compromising overall print results.

Image Complexity: The complexity of the image or design being printed directly influences the printing speed. Intricate designs with a high level of detail, gradients, or multiple colors require more time to process and print. Simplifying designs or optimizing them for faster printing can significantly improve printing speed. Consider optimizing images by reducing unnecessary details, minimizing gradients, or converting images to more printer-friendly formats to expedite the printing process.

Printer Technology and Configuration: The type of printer technology used for PET film printing, such as inkjet or digital printing, can impact printing speed. Different printer models offer varying speeds and capabilities. Ensure that you choose a printer model optimized for speed if fast printing is a priority. Additionally, configuring the printer settings, such as print mode (draft, normal, or high quality) and speed settings, can further influence the printing speed. Experiment with different configurations to find the optimal balance between speed and print quality.

Drying and Curing Time: PET film printing typically involves the use of specialized inks that require drying and curing after printing to ensure durability and longevity. The time needed for ink drying and curing can affect overall printing speed. Utilizing fast-drying and quick-curing inks specifically designed for PET film printing can help minimize drying and curing time, allowing for faster print production.

Printer Maintenance and Performance: Regular maintenance of the PET film printer is essential for optimal performance and printing speed. Neglected or poorly maintained printers may experience mechanical issues or decreased efficiency, leading to slower printing speeds. Follow the manufacturer's recommended maintenance schedule, including cleaning, lubrication, and inspection of printer components, to ensure smooth operation and maximum speed.

Workflow Optimization: Efficient workflow management can significantly impact the overall printing speed. Analyze the entire printing process, from file preparation to printing and finishing, to identify any bottlenecks or inefficiencies. Streamline the workflow by automating repetitive tasks, utilizing pre-press software for faster file processing, and implementing efficient job scheduling. Minimizing downtime between print jobs and optimizing the sequence of printing tasks can further enhance printing speed.

Hardware and Connectivity: The hardware components and connectivity options of the PET film printer can influence printing speed. Ensure that the printer is equipped with adequate processing power, memory, and data transfer capabilities to handle high-speed printing. Additionally, optimizing connectivity, such as using high-speed USB or Ethernet connections, can help eliminate data transfer bottlenecks and maintain consistent printing speeds.

pet release film
 

The printing speed of PET film printers is influenced by various factors, including print resolution, image complexity, printer technology and configuration, drying and curing time, printer maintenance and performance, workflow optimization, and hardware and connectivity. By understanding these factors and implementing appropriate strategies, such as adjusting print settings, optimizing image designs, selecting the right printer model, using efficient inks, and streamlining workflow processes, PET film printer owners can enhance printing speed and productivity. Remember to strike a balance between speed and print

Why the pattern color difference of PET film printer is very large?

PET film printing has become increasingly popular for various applications, including packaging, labels, and promotional materials. However, one common issue faced by PET film printer owners is significant color differences between the printed patterns and the desired colors. This color discrepancy can be frustrating and impact the overall quality of the printed products. In this article, we will explore some of the key factors that contribute to significant pattern color differences in PET film printing.

screen print pet film

Inconsistent Color Calibration

Accurate color calibration is crucial for achieving consistent and desired color outcomes. If the printer's color calibration is not properly set or calibrated, it can result in significant color variations. Ensure that your PET film printer is calibrated correctly using color management tools, such as color calibration software or color charts, to establish a baseline for accurate color reproduction.

Variations in Ink Quality:

The quality and composition of the ink used in PET film printing play a significant role in the final color output. Inks from different manufacturers or different batches can have variations in color properties. Using ink from reputable manufacturers and ensuring consistency in ink sourcing can help minimize color differences. Additionally, regularly checking the ink expiration dates and storage conditions can help maintain ink quality and prevent color discrepancies.

Substrate and Surface Preparation

PET film is a non-porous substrate, which can affect how ink adheres and dries on its surface. Insufficient surface preparation, such as inadequate cleaning or poor application of primers or coatings, can lead to poor ink adhesion and color variation. Ensure that the PET film is thoroughly cleaned and properly prepared according to the printer and ink manufacturer's recommendations before printing.

Printer Settings and Profiles:

Incorrect printer settings and profiles can significantly impact color accuracy. It is essential to use the appropriate printer settings, such as print resolution, speed, and ink density, to achieve the desired color output. Additionally, utilizing color profiles specific to the printer, ink, and PET film combination can help maintain color consistency and accuracy.

Environmental Factors

Environmental conditions, such as temperature and humidity, can affect the printing process and subsequently impact color outcomes. Extreme temperatures or high humidity levels can lead to changes in ink viscosity, drying times, and color mixing. Ensure that the printing environment is controlled within the recommended ranges specified by the printer and ink manufacturers.

screen print pet film

Color Management Workflow

An ineffective color management workflow can contribute to significant color differences in PET film printing. Establishing a robust color management workflow, including the use of color management software, accurate color profiles, and regular color calibration, can help minimize color discrepancies. Additionally, working closely with color experts or consultants can provide valuable insights and guidance for achieving consistent and accurate colors.

The significant pattern color differences experienced in PET film printing can be attributed to various factors, including inconsistent color calibration, variations in ink quality, substrate and surface preparation, printer settings and profiles, environmental factors, and color management workflow. By understanding these factors and implementing appropriate measures to address them, PET film printer owners can significantly reduce color discrepancies and achieve consistent and accurate color outcomes. Remember to follow manufacturer guidelines, invest in high-quality ink and materials, and maintain a well-optimized color management workflow to ensure optimal results in PET film printing.

How to Create Iron-On Transfers for T-Shirts?

Iron-on transfers provide an excellent way to personalize your t-shirts and express your creativity. Whether you want to showcase your favorite designs, logos, or slogans, learning how to create iron-on transfers allows you to bring your ideas to life. In this article, we will guide you through the process of making iron-on transfers for t-shirts, enabling you to add a personal touch to your wardrobe effortlessly.

Materials Needed:

  • T-shirt
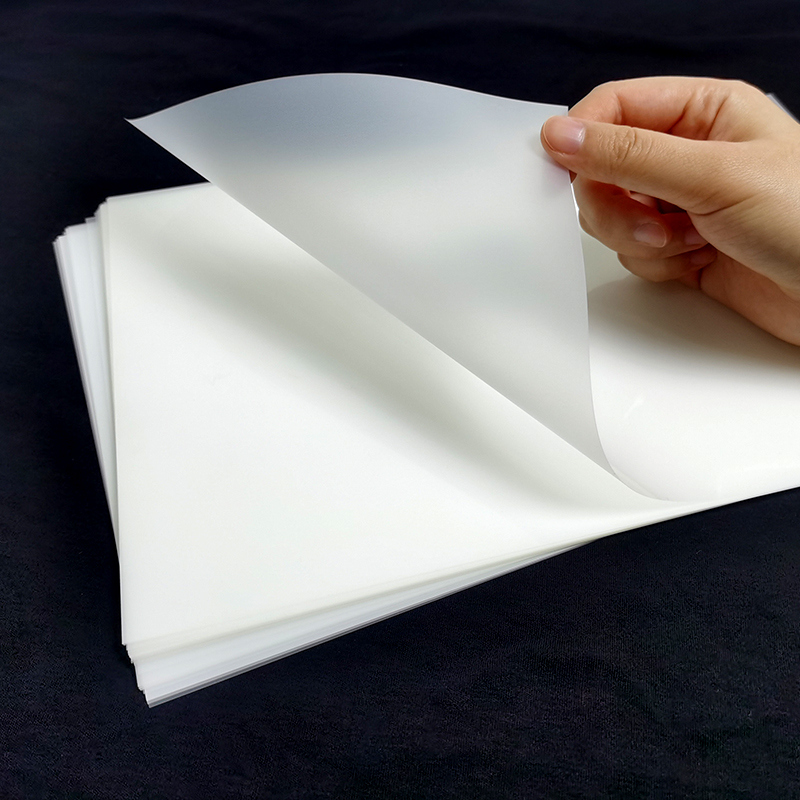
  • Iron-on transfer paper
  • Inkjet printer
  • Design software or online design tools
  • Scissors
  • Iron
  • Hard surface (e.g., an ironing board)
  • Parchment paper or a thin cotton cloth

Choose or create a design

Start by deciding on the design you want to transfer to the t-shirt. You can use graphic design software like Adobe Photoshop or Canva to create your own designs, or you can find pre-made designs online. Make sure the design you choose is suitable for iron-on transfers and reflects your desired results.

reverse design

Once the design is complete, it is very important to reverse it before printing. This step is important because the image needs to be mirrored in order to transfer properly to the fabric. Use the Flip or Mirror function in your design software or print options to flip the image horizontally.

print design

Place the iron-on transfer paper in the inkjet printer, making sure the print side is facing the correct direction (refer to the paper instructions). Adjust the printer settings according to the manufacturer's recommendations for the specific transfer paper you are using. Choose premium print settings for vibrant colors and sharp details.

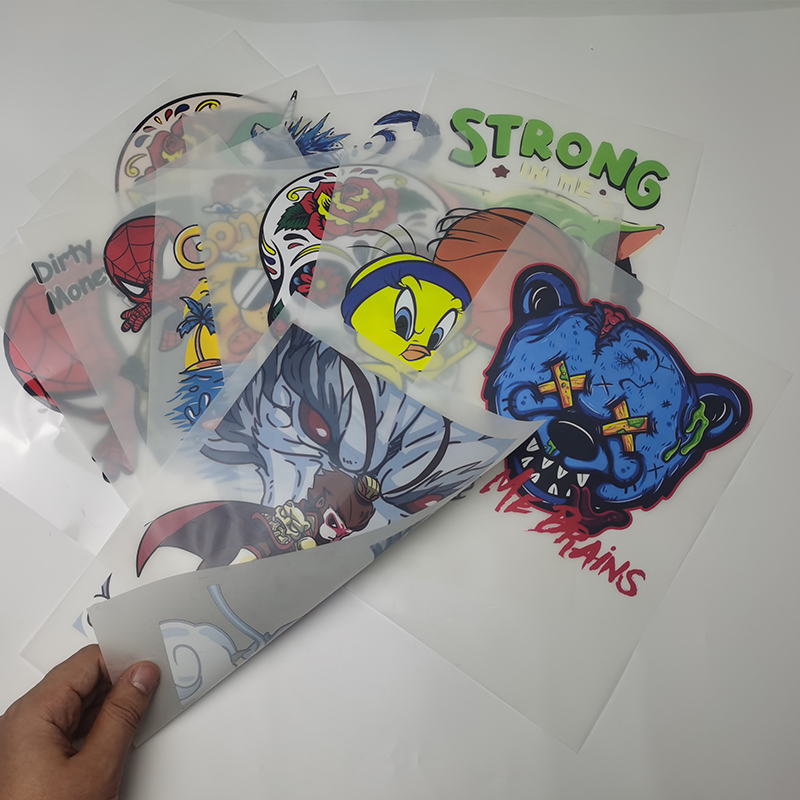
iron-on transfers for t-shirts

trim design

Carefully trim the edges of the printed design with scissors. Leave a small frame around the design, but try to crop the image closer together to minimize excess transfer paper being visible on the t-shirt.

prepare t-shirt

Lay the t-shirt on a clean, flat surface to make sure there are no wrinkles. It is recommended to wash and dry the t-shirt before ironing the transfer to remove any size or residue that may hinder the transfer process.

Design positioning

Place the trimmed iron-on transfer on the desired area of the t-shirt, print side down. Make sure it's properly centered and aligned. You can temporarily secure transfers with pins or tape to keep them from moving during ironing.

heating

Set the iron to the proper temperature for ironing the transfer wrap. Generally, it should be set to pure cotton or high temperature molding. Preheat the iron for a few minutes to make sure it reaches the desired temperature.

Best-Iron-On-Transfer-Paper

Ironing Transfers

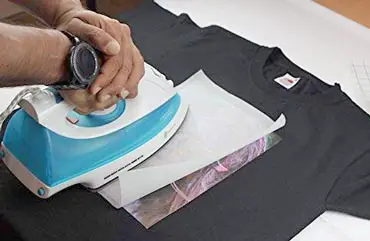
Place a piece of parchment or tissue paper over the iron-on transfer. The protective layer helps prevent direct contact between the iron and the transfer, avoiding any potential damage. Press the hot iron firmly onto the transfer paper, applying steady pressure for about 15-20 seconds. Make sure to cover the entire design area, applying pressure evenly.

Cool and remove backing

Allow the transfer material to cool completely before attempting to remove the backing. After cooling, gently peel off the backing paper from one corner. If any part of the transfer sticks to the backing, put it back on and iron it again, applying pressure for a few seconds.

final steps

After removing the backing paper, let the t-shirt sit for a few minutes to ensure proper adhesion of the transfer material. Avoid touching or stretching while the design is hot. Once completely cooled, your iron-on transfers can be worn and displayed.

Additional Tips:

  1. Test on a Scrap Fabric: Before applying the iron-on transfer to your t-shirt, it's a good idea to test it on a scrap piece of fabric. This allows you to familiarize yourself with the process and make any necessary adjustments before transferring the design to your desired t-shirt.
  2. Follow Manufacturer's Instructions: Different iron-on transfer papers may have specific instructions and temperature settings. Always refer to the instructions provided by the manufacturer of the transfer paper you are using for the best results.
  3. Wash and Care Instructions: To ensure the longevity of your iron-on transfer, it is recommended to wash your t-shirt inside out in cold water and avoid using harsh detergents or bleach. Additionally, avoid ironing directly on the design; instead, iron the t-shirt inside out or place a cloth over the design while ironing.

Creating iron-on transfers for t-shirts opens up a world of possibilities for expressing your unique style and personalizing your wardrobe. By following these step-by-step instructions, you can easily transform your favorite designs into wearable art. Get creative, have fun, and enjoy wearing your custom-made t-shirts with pride.

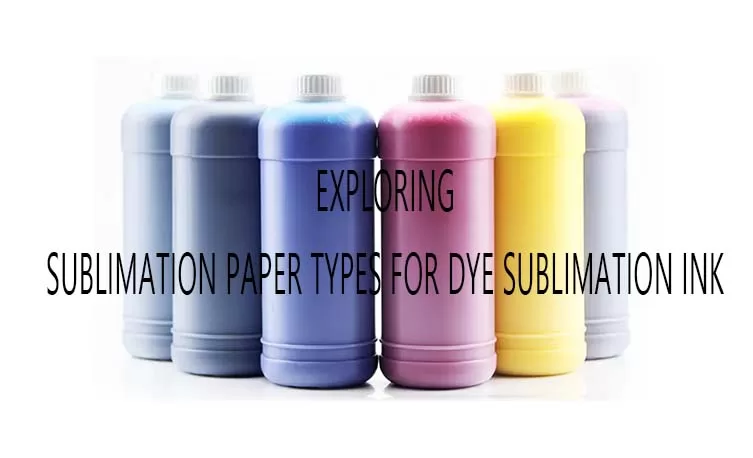
Exploring Sublimation Paper Types for Dye Sublimation Ink

Dye sublimation printing relies on high-quality sublimation paper to achieve vibrant and long-lasting prints. With a wide range of sublimation paper types available, it's essential to understand their unique characteristics and choose the most suitable option. In this article, we will delve into different types of sublimation paper for dye sublimation ink, providing a comparative analysis to help you make an informed decision.

Standard Sublimation Paper

Sublimation Paper

Standard sublimation paper is widely used and has good comprehensive performance. It typically features a mid-weight design and a microporous coating that enhances ink absorption and color saturation. This paper is suitable for a variety of applications including apparel, home décor and promotional products.

High release sublimation paper

Carefully designed, high-release dye-sublimation paper can maximize ink transfer and color brightness. It has a special coating that increases ink saturation, resulting in stronger, more vibrant prints. This paper is ideal for applications requiring excellent color reproduction, such as art and photography.

Adhesive sublimation paper

Adhesive sublimation paper has a sticky or sticky surface that helps prevent ghosting and shifting during transfer. The tack allows for better adhesion to substrates, reducing the risk of misalignment or smudging. This type of paper is especially beneficial for complex or complex designs and guarantees precise and accurate transfers.

Dye Sublimation Paper Mix

Hybrid sublimation paper is a versatile option that can be used on both rigid and flexible substrates. It combines the qualities of standard dye-sublimation paper and bonded dye-sublimation paper for a wide range of applications. The paper has good ink absorption properties, reduces ghosting, and improves color brightness.

special sublimation paper

Specialty sublimation papers are specially designed for specific applications or substrates. For example, there are sublimation papers specially prepared for fabrics with high ester content, which can provide excellent color reproduction and washability. There are also dye-sublimation papers optimized for hard substrates such as tiles, mugs or metal panels, providing enhanced adhesion and scratch resistance.

factors to consider

a. Cost-effectiveness: Estimate the cost per square meter or per sheet of sublimation paper based on your budget and print volume requirements.

b. Application Compatibility: Make sure the sublimation paper you choose is compatible with the specific substrate you plan to use, such as fabric, ceramic, metal or coated plastic.

c. Printer Compatibility: Verify that the dye-sublimation paper is compatible with your printer model, including ink compatibility, thickness, and size specifications.

d. Quality and Durability: Look for sublimation papers, they are known for their color accuracy, clarity and durability. Consider factors such as ink absorption, resistance to curling, and resistance to fading or yellowing.

e. User Reviews and Suggestions: Seek feedback from experienced users or consult online forums and communities to gain insight into the performance and reliability of different sublimation paper types.

sublimation on heat transfer paper

Choosing the right sublimation paper is crucial for achieving optimal results in dye sublimation printing. Consider the specific characteristics and benefits offered by standard, high-release, tacky, hybrid, and specialty sublimation papers. Evaluate factors such as cost-effectiveness, application compatibility, printer compatibility, quality, and user recommendations to make an informed decision. By selecting the most suitable sublimation paper for your needs, you can ensure vibrant, durable, and professional-grade prints in your dye sublimation projects.

12 FAQs about Sublimation Paper Transfer Printing

Dye sublimation paper transfer printing is a popular method used to transfer high-quality images onto various substrates, including fabrics, ceramics, metals, and more. While this printing technique offers numerous advantages, it can sometimes present challenges that require solutions. In this article, we will address frequently asked questions (FAQs) related to dye sublimation paper transfer printing and provide practical solutions to overcome common issues.

fast dry sublimation paper

Q1: What is sublimation paper transfer printing?

A: Sublimation paper transfer printing is a process that uses heat and pressure to transfer dyes to the substrate. In this design, dye ink is first printed on special dye-sublimation paper. The paper is then placed on the substrate and heated, allowing the dye to sublimate and penetrate the surface, resulting in vibrant and long-lasting prints.

Q2: What materials are suitable for sublimation paper transfer printing?

A: Sublimation paper transfers are compatible with a variety of materials, including polyester fabrics, tiles, aluminum panels, glass, and some types of coated plastics. The key requirement is that the material has a polymer coating or polyester that allows the ink to sublimate and bond effectively.

Q3: Why do I sometimes encounter inconsistent printing colors?

A: Colors may vary due to various factors. First, make sure you use high-quality dye-sublimation paper and the right ink for your printer. Also, make sure your printer settings and color profiles are calibrated correctly. Environmental factors such as temperature and humidity can also affect color consistency, so it is important to maintain a controlled printing environment.

Q4: How to avoid smudging or ink bleeding during the transfer process?

A: To prevent dirt or color from bleeding, make sure you use a proper heat press with even heat distribution and consistent pressure. Follow the recommended times and temperatures for your specific sublimation paper and substrate. It is important to maintain a clean working environment in order to avoid dust or debris from interfering with the transfer process.

Q5: What should I do if my print is faded or lacks vibrancy?

A: Faded prints or lackluster colors may be caused by insufficient heat or pressure during the transfer process. Make sure to follow the manufacturer's descriptions for temperature and pressure settings for a given substrate and sublimation paper. Consider using higher quality sublimation inks and paper, as lower quality materials may affect the brightness of the colors.

Question 6: How to prevent unnecessary lines or stripes from appearing in the printout?

A: Unwanted lines or streaks can be caused by a variety of factors. First, inspect your sublimation paper for obvious defects or damage. If so, replace with a new batch of paper. Make sure the printer head is clean and free from blockages. Also, lines or streaks may appear during the transfer process, so avoid overhandling printed dye-sublimation paper.

Q7: Can the sublimation paper be used repeatedly for multiple transfers?

A: No, the sublimation paper is for one time use only. After transfer, the ink is completely transferred to the substrate and the paper is not used anymore. Reusing dye-sublimation paper may result in poor image quality and unpredictable results.

Q8: How can I get a clear and delicate printing effect?

A: In order to obtain a clear and detailed printing effect, please ensure that your original design has sufficient resolution. Use high-quality sublimation paper, which has excellent ink absorption and release properties. Keep your printing environment clean and free of dust and debris. Optimize your press settings and select the appropriate print mode for maximum detail. Consider using image editing software to improve sharpness and clarity before printing.

Q9: What should I do if my print looks blurry or distorted?

A: Due to various reasons, printing may be blurred or distorted. First, check that the sublimation paper is firmly placed on the substrate during the transfer process. Make sure the heat press provides even pressure and heat distribution. If the problem persists, double check the alignment of the print on the paper and adjust as necessary. It is also important to use compatible dye-sublimation inks specifically prepared for your printer model.

Q10: How should I handle and store the sublimation paper in order to maintain its quality?

A: To maintain the quality of the sublimation paper, please handle it with clean and dry hands to avoid transferring oil or water to the surface of the paper. Store paper in a cool, dry place out of direct sunlight and moisture. Seal unused paper in a resealable bag to protect it from the elements. Avoid bending or folding the paper as it may affect performance during printing.

Q11: Can sublimation paper be used with non-polyester fabrics or substrates?

A: Dye-sublimation paper is best suited for substrates that have polyester substrates or polymer coatings. The sublimation process relies on the combination of ink and polyester fiber or coating to form a permanent image. If you would like to transfer your design onto a non-polyester fabric or substrate, consider alternative printing methods such as heat transfer vinyl or direct to garment.

Question 12: How to solve the problem of color accuracy in printing?

A: If you experience color accuracy issues, please calibrate your monitor first to ensure that your design files are in the correct color profile. Make sure the color settings between monitor, printer and dye sublimation ink use color management software. If the problem persists, consult your printer manufacturer's support or seek color calibration from a professional technician.

Causes and Solutions of Dye Sublimation Ghosting

Dye-sublimation printing is a popular method of transferring vibrant and durable designs onto a variety of substrates. However, one of the common problems that can occur during dye sublimation is ghosting. Ghosting refers to faint, repetitive images or outlines that are unwanted in the final print. In this article, we'll take a deep dive into the causes of dye-sublimation ghosting and explore effective solutions to minimize its occurrence.

Dye Sublimation

lack of pressure

One of the main causes of ghosting is insufficient pressure during the sublimation process. Insufficient pressure will prevent proper contact of the sublimation paper with the substrate, resulting in incomplete ink transfer. As a result, faint residual images or design outlines may appear in the final print.
The fix: Make sure your heat press is applying consistent and ample pressure across the entire surface area. Adjust the pressure setting according to the substrate being used and double check that the hot plate is clean and level for optimal contact.

incorrect alignment

Misalignment between the sublimation paper and the substrate can cause ghosting. If the paper shifts or shifts during the transfer process, the pattern may repeat or distort, causing ghosting.
Solution: Take extra care to accurately align the sublimation paper with the substrate before heat pressing. Use registration marks or alignment tools to ensure accurate placement. Additionally, the sheets are secured with heat-resistant tape to prevent movement during transfers.

Ink saturation is too high

Using too much ink during printing can cause ghosting. When ink is oversaturated, it may bleed color or exceed intended boundaries, resulting in repeated images or outlines.
Solution: Adjust the ink settings on the printer to ensure optimal saturation. Follow the manufacturer's recommended ink density guidelines. To find the right balance between vibrancy and ink avoidance, test and print, and make any necessary adjustments.

residual ink or contamination

Ghosting may occur if there is residual ink or contamination on the dye-sublimation paper, substrate, or heater plate. These impurities can be inadvertently transferred to the substrate during hot pressing, causing ghost images.
Solution: Before printing, make sure the sublimation paper and substrate are clean without residual ink, debris or contamination. Please clean the hot plate regularly to prevent any unwanted transfer.

Heating or residence time changes

Inconsistent heat distribution or uneven dwell time on the hot plate can cause ghosting. If some areas receive more heat than others or are exposed for too long, the ink may sublimate and transfer unevenly, causing ghosting.
Solution: Calibrate the heat press to ensure even heat distribution across the platen. Verify that the temperature and dwell time settings are accurate and consistent. Use a heat press with even heating elements, or consider using heat press pillows or spacers to ease the change.

Understanding the causes of dye-sublimation ghosting is important to achieve high-quality printing. Significantly reduces ghosting by addressing issues such as insufficient pressure, misalignment, ink oversaturation, ink residue or contamination, heat or dwell time variations. Implementing the provided solutions during the dye-sublimation process with careful attention to detail will help you produce crisp and flawless prints with minimal ghosting.

Open chat
1
Scan the code
Contact With Kenteer
Hello 👋
Can I help you?