kenteer

A Comprehensive Guide to Choosing the Right PET Film

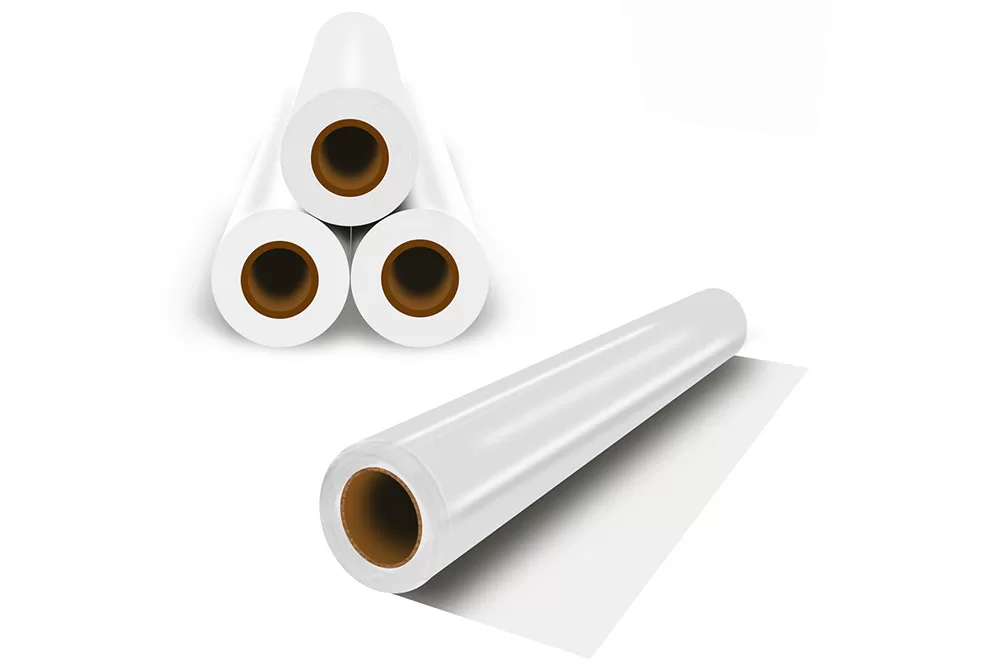
Polyethylene terephthalate, commonly known as PET film, is a type of plastic film that is widely used in various industries. PET film is known for its excellent strength, durability, and transparency, making it a popular choice for packaging, labeling, and other applications. However, choosing the right PET film for your specific needs can be a daunting task, as there are many different types of PET film available on the market. In this article, we will provide a comprehensive guide to choosing the right PET film.

PET Film

Understanding PET Film Properties

Before choosing a PET film, it is important to understand the properties of PET film. PET film is a thermoplastic material that is known for its excellent mechanical and thermal properties. PET film is also resistant to moisture, chemicals, and UV radiation, making it ideal for outdoor applications. PET film is available in a range of thicknesses, from thin films that are less than 0.25 mils thick to heavy-duty films that are more than 10 mils thick. PET film is also available in a range of colors, including clear, white, and colored films.

Choosing the Right Thickness

The first step in choosing the right PET film is to determine the required thickness for your application. The thickness of PET film is measured in mils, with one mil equaling 0.001 inches. The thickness of the PET film required will depend on the specific application. For example, thin PET films are ideal for applications where flexibility and conformability are required, such as label stock or flexible packaging. Thicker PET films are ideal for applications where strength and durability are required, such as electrical insulation or heavy-duty packaging.

Choosing the Right Coating

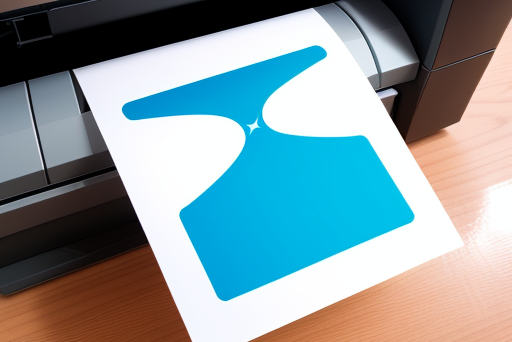
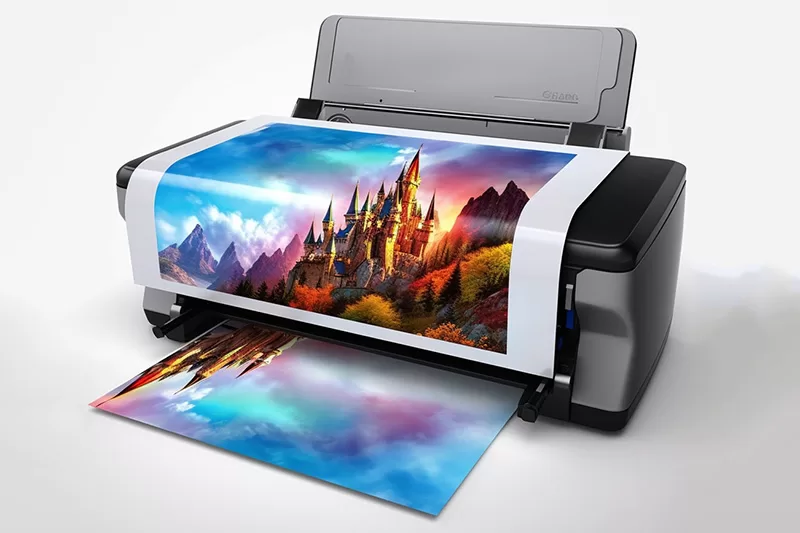
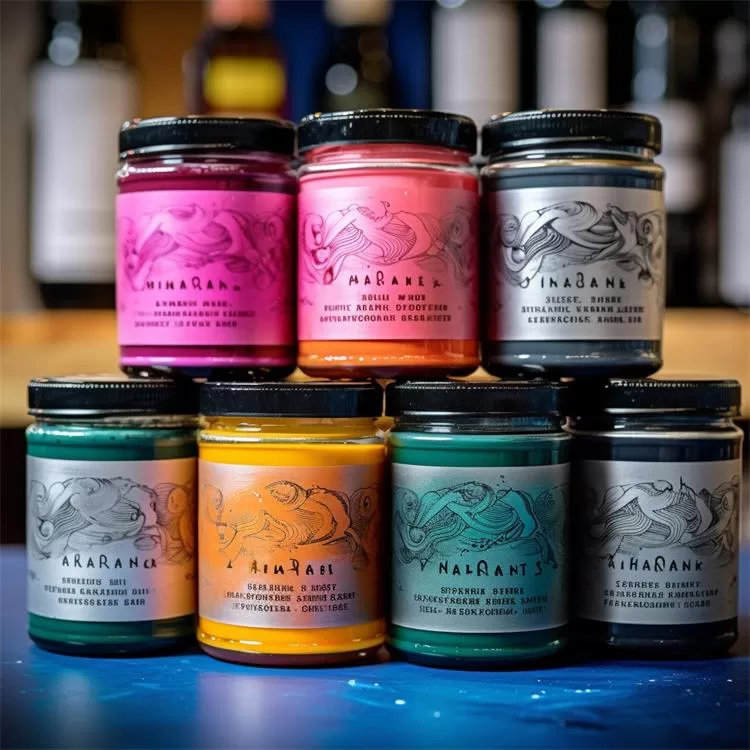
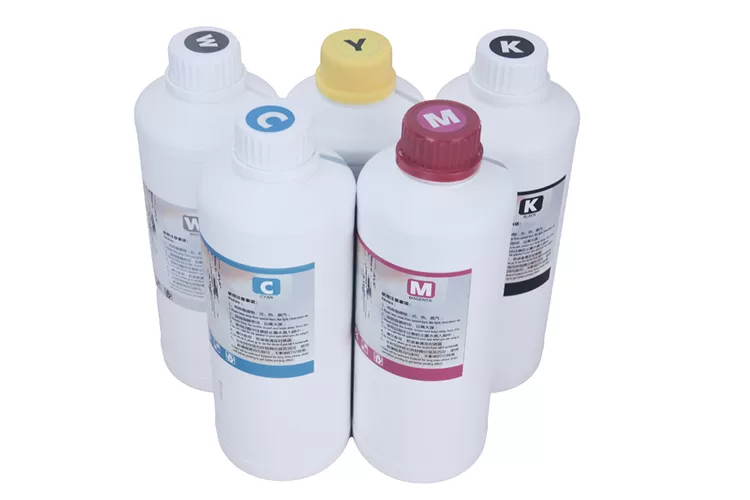
PET film can be coated with various materials to enhance its properties. The most common coatings for PET film are silicone, acrylic, and PVDC (polyvinylidene chloride). Silicone coating is used to improve the release properties of the film, making it ideal for applications such as label stock or release liners. Acrylic coating is used to improve the printability and adhesion of the film, making it ideal for applications such as graphic overlays or nameplates. PVDC coating is used to enhance the barrier properties of the film, making it ideal for applications such as food packaging or medical packaging.

Choosing the Right Surface Treatment

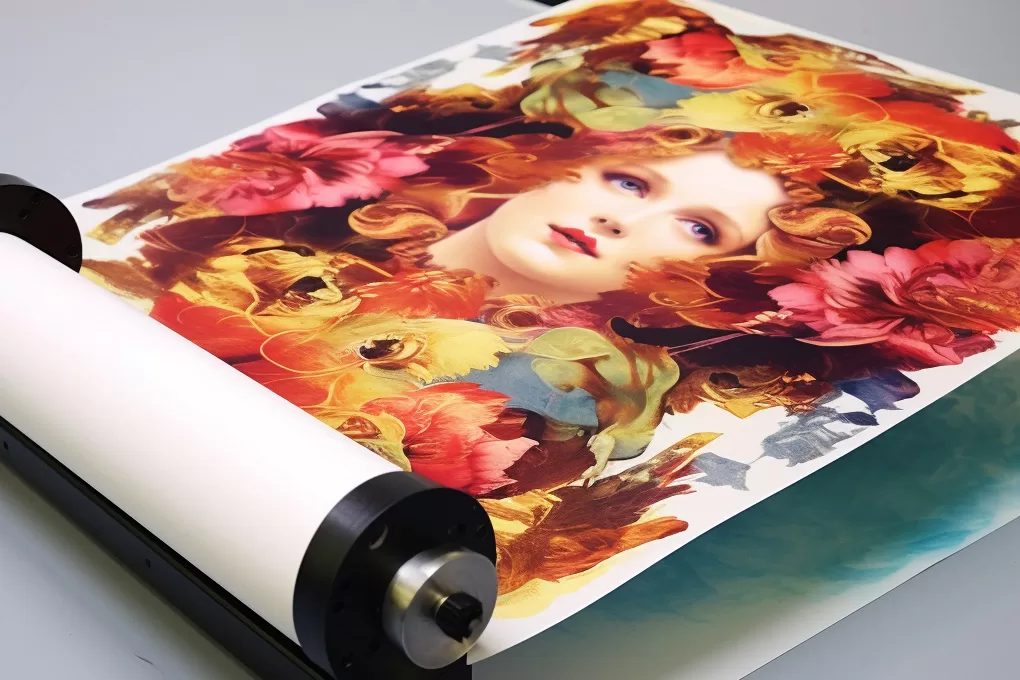
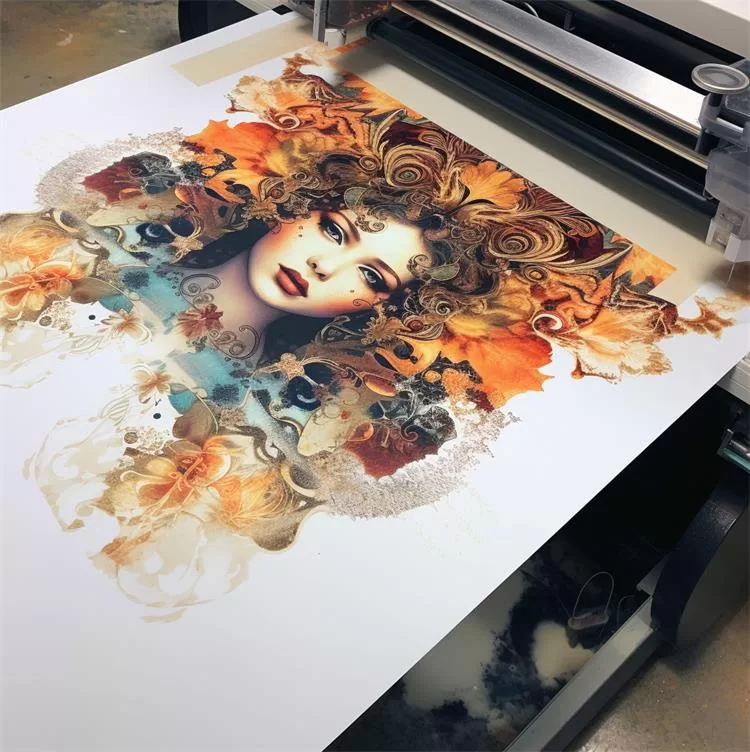
PET film can also be treated with various surface treatments to improve its properties. The most common surface treatments for PET film are corona treatment and chemical treatment. Corona treatment is a process where the surface of the film is exposed to a high-frequency electrical discharge, which creates a rough surface that improves the adhesion of inks, coatings, and adhesives. Chemical treatment is a process where the surface of the film is treated with chemicals to improve its surface properties, such as adhesion or printability.

Choosing the Right Color

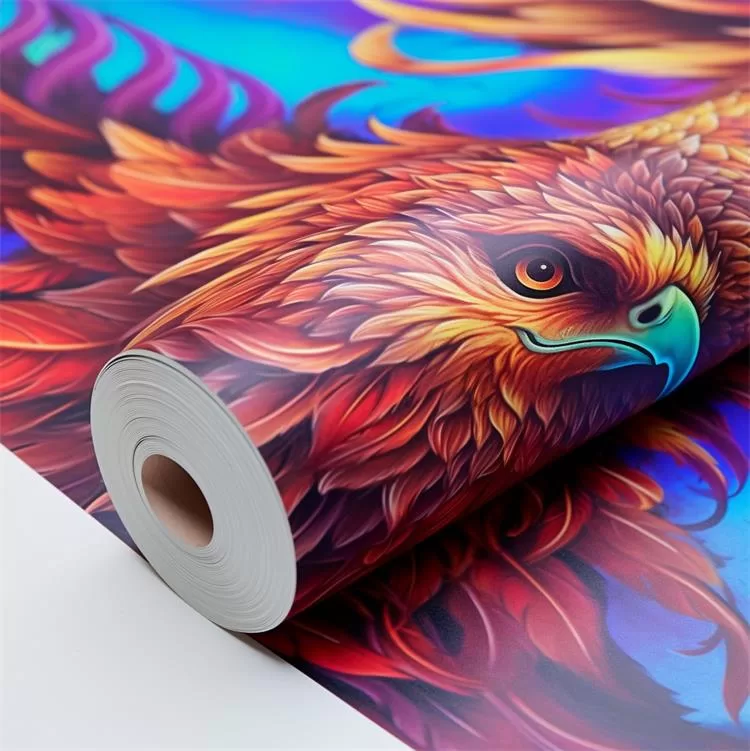
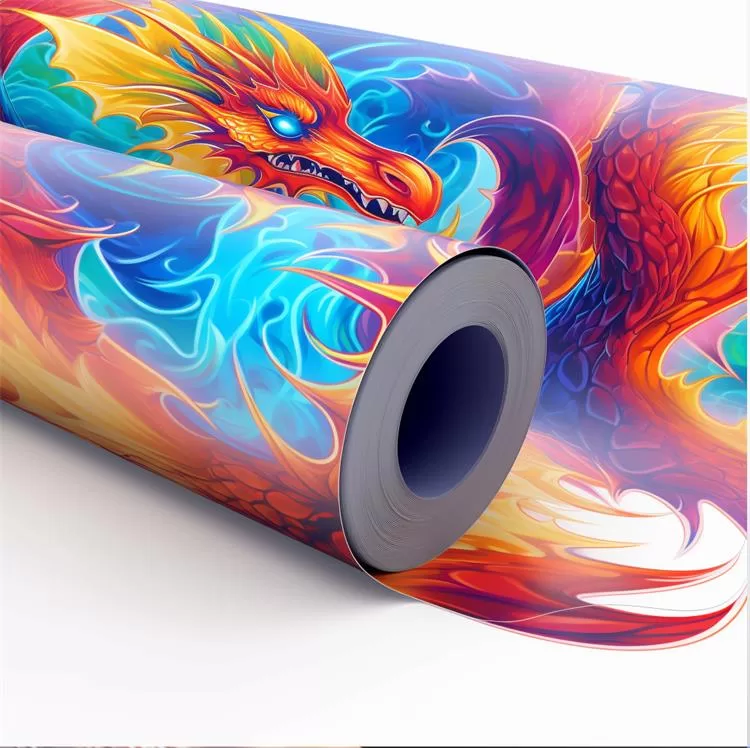
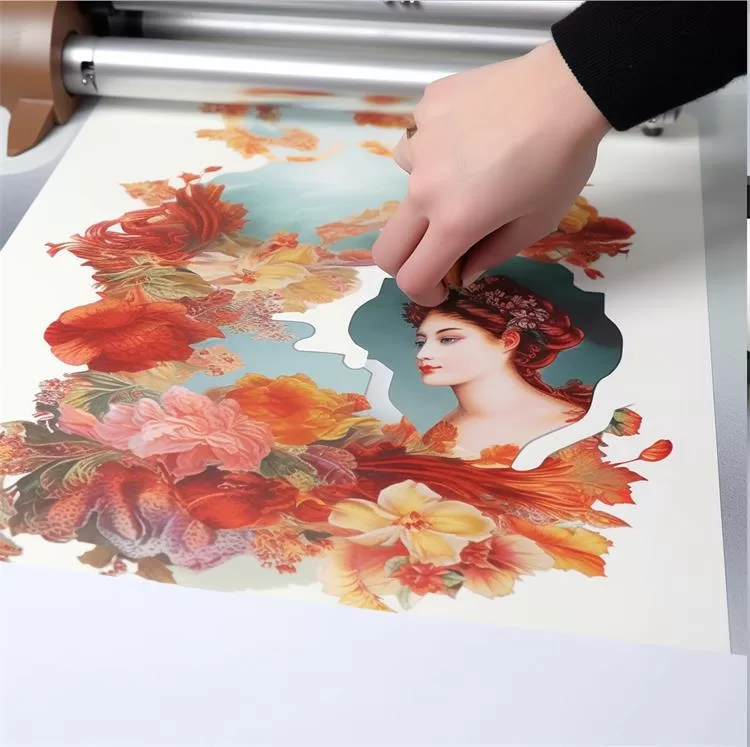
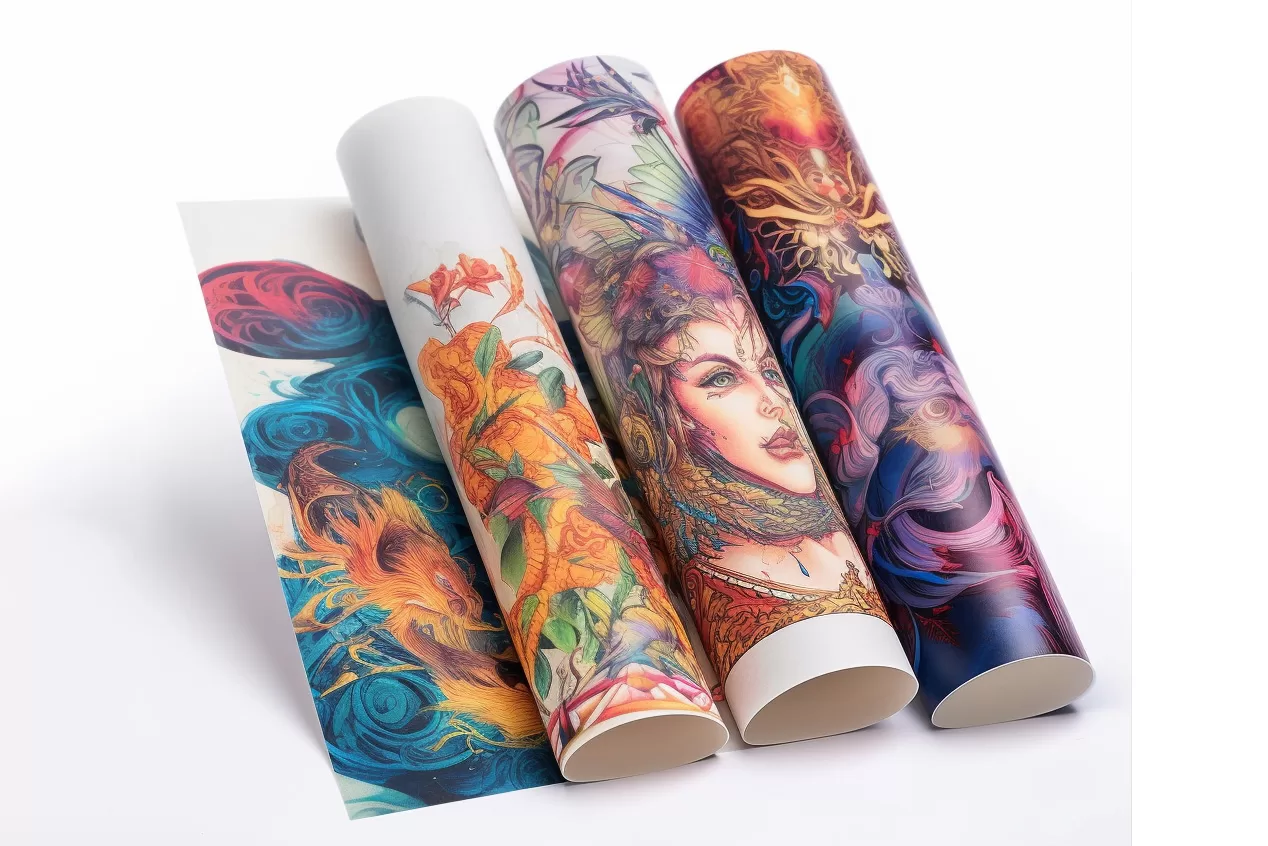
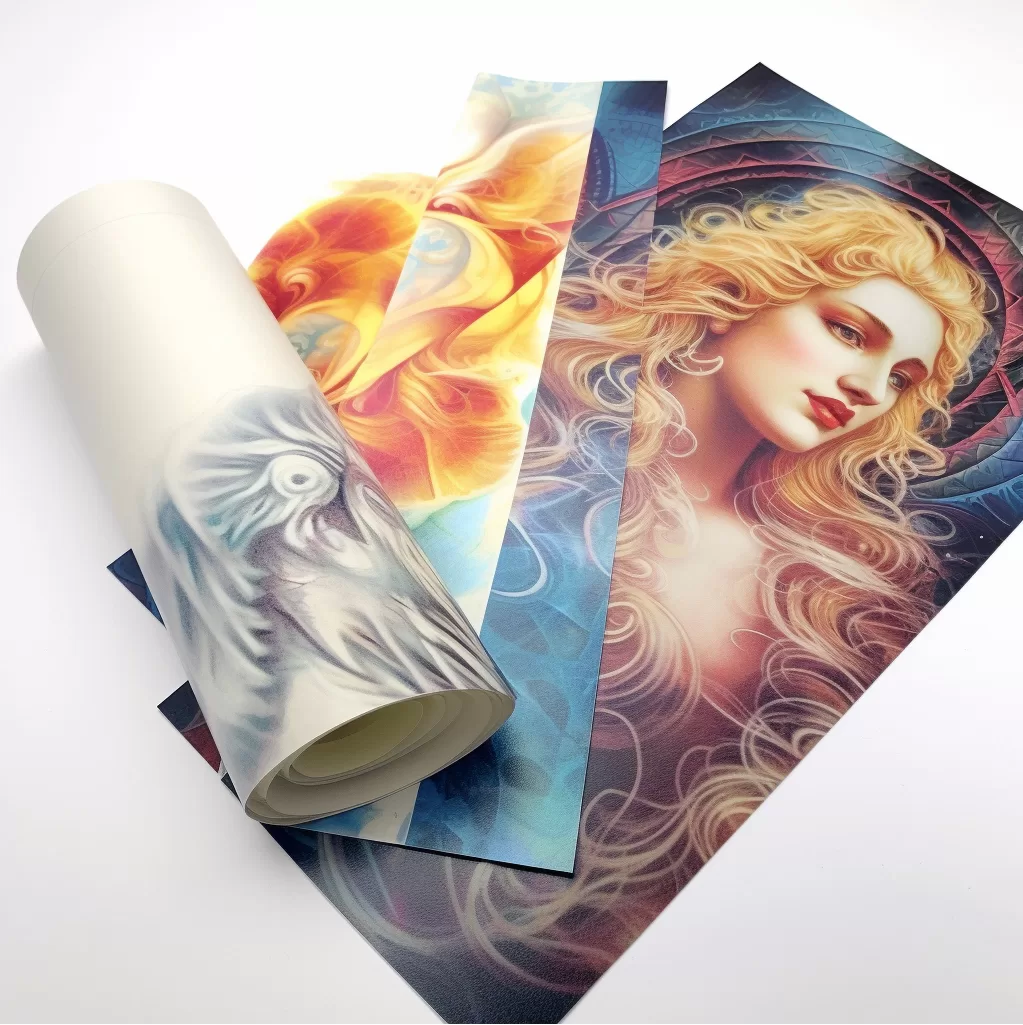
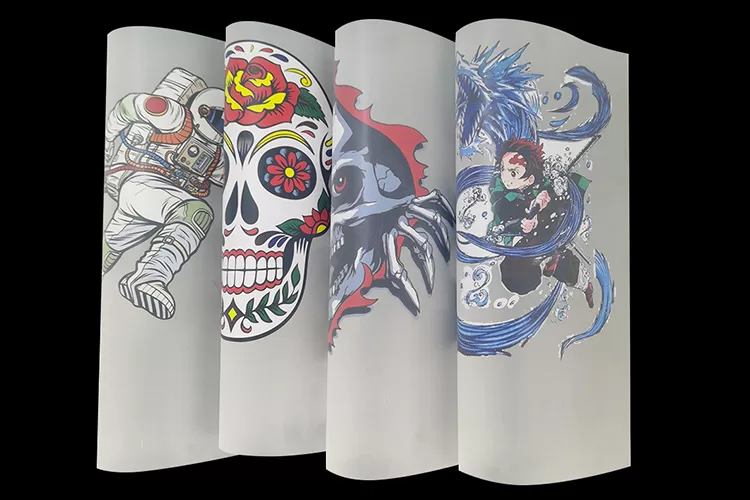
PET film is available in a range of colors, including clear, white, and colored films. The choice of color will depend on the specific application. Clear films are ideal for applications where transparency is required, such as packaging or windows. White films are ideal for applications where opacity is required, such as labels or reflective insulation. Colored films are ideal for applications where aesthetics or branding are important, such as graphic overlays or decorative laminates.


Choosing the right PET film for your specific needs requires careful consideration of the properties of the film, thickness, coating, surface treatment, and color. By understanding the properties of PET film and the specific requirements of your application, you can make an informed decision and choose the right PET film that will meet your needs and deliver the desired performance.

How to Use DTF Film Sheets for High-Quality Image Transfers

DTF film sheets are a popular choice for image transfers due to their versatility, ease of use, and high-quality results. Whether you're a professional printer or a DIY enthusiast, DTF film sheets can help you achieve crisp, vibrant, and long-lasting prints on a wide range of surfaces, including textiles, ceramics, glass, and more.

In this article, we'll guide you through the process of using DTF film sheets for image transfers, from selecting the right materials to preparing your artwork, printing, and transferring the image. By following these steps, you'll be able to create stunning designs that stand out from the crowd and last for years to come.

dtf film sheets

Step 1: Choose the Right Materials

To use DTF film sheets, you'll need several materials, including:

- A DTF film sheet: This is a transparent, heat-sensitive film that will hold your design and transfer it to the final surface.

- A release paper: This is a thin, non-stick paper that you'll use to protect the DTF film during printing and transfer.

- Ink: You can use either pigment or dye-based ink, but pigment ink is usually more durable and resistant to fading and water.

- A printer: You can use any inkjet or laser printer that can handle the thickness of the DTF film and produce high-quality prints.

- A heat press or iron: This will be used to transfer the image from the DTF film to the final surface.

Step 2: Prepare Your Artwork

Before printing your design on the DTF film, you need to make sure it's properly prepared. Here are some tips to follow:

- Use a high-resolution image: The higher the resolution, the sharper and more detailed your print will be. Aim for at least 300 DPI for best results.

- Mirror your image: This is especially important if you're printing on textiles or other surfaces that require the image to be flipped. Most printers and design software have a mirror or flip option that you can use.

- Adjust the colors: Make sure your colors are bright, vibrant, and accurate. You can use a color calibration tool or software to ensure they match your desired outcome.

- Print a test sheet: Before printing on the DTF film, print a test sheet on regular paper to check for any alignment issues, color discrepancies, or other problems.

Step 3: Print Your Design

Once your artwork is ready, it's time to print it onto the DTF film sheet. Here's how to do it:

- Load the DTF film sheet into your printer: Make sure the film is facing the right way and that your printer is set to the right paper thickness and type.

- Print your design: Use your printer's highest quality settings and make sure the ink is dry before handling the film.

- Attach the release paper: Cut a piece of release paper slightly larger than the DTF film sheet and attach it to the printed side of the film. This will protect the film during transfer and make it easier to handle.

Step 4: Transfer Your Image

The final step is to transfer your image from the DTF film sheet to the final surface. Here's how to do it:

- Preheat your heat press or iron: Set it to the recommended temperature for your ink and surface type.

- Position your substrate: Place your textile, ceramic, or other surface onto the heat press or iron and preheat it for a few seconds.

- Place the DTF film sheet onto the substrate: Make sure the release paper is facing up and that the film is aligned with your desired position.

- Press or iron the film onto the substrate: Apply firm pressure for the recommended time and temperature, then peel off the release paper while the film is still warm.

- Post-cure your design: To ensure maximum durability and washability, post-cure your design by baking it in a heat press or oven at a specific temperature and time.

And there you have it! By following these steps, you'll be able to use DTF film sheets for high-quality image transfers that are sure to impress. Whether you're creating custom t-shirts, mugs, or other personalized items, DTF film sheetshttps://kenteer.com/single-size-dtf-film/ offer a cost-effective and easy-to-use solution that delivers professional-grade results. So why not give them a try today?

Design Your Own Apparel with Printable Heat Transfer Vinyl

Creating custom apparel has never been easier thanks to the availability of printable heat transfer vinyl. This versatile material allows you to design and print your own images and graphics, and then transfer them onto t-shirts, hats, bags, and more. In this article, we'll explore the benefits of using printable heat transfer vinyl for your apparel designs and provide tips for successful application.

printable heat transfer vinyl

What is Printable Heat Transfer Vinyl?

Printable heat transfer vinyl is a type of material that can be printed on using a standard inkjet or laser printer. The vinyl is then cut into the desired shape or design and applied to fabric using a heat press or household iron. Printable heat transfer vinyl is available in a variety of finishes, including matte, glossy, and glitter.

Benefits of Printable Heat Transfer Vinyl

One of the biggest advantages of using printable heat transfer vinyl is its versatility. It can be used on a wide range of fabrics, including cotton, polyester, and even leather. This makes it a great option for creating custom t-shirts, hats, bags, and more.

Another benefit of printable heat transfer vinyl is its ease of use. With just an inkjet or laser printer, a cutting machine, and a heat press or household iron, you can create custom designs on fabric in no time. Printable heat transfer vinyl is also easy to apply, making it a great option for beginners or those who don't have access to specialized equipment.

Finally, printable heat transfer vinyl allows for high-quality and detailed designs. Because the vinyl is printed on, you can create images and graphics with intricate details and small text. This makes it a great option for creating custom apparel with a professional look and feel.

Tips for Successful Application

While printable heat transfer vinyl is easy to use, there are some tips and tricks you can follow to ensure successful application.

First, make sure you're using the right type of vinyl for your project. Some printable heat transfer vinyls are designed for use with inkjet printers, while others are designed for use with laser printers. Make sure you're using the right type of vinyl for your printer.

Next, make sure your design is properly mirrored before printing. This is especially important if you're using text or a design with words. Mirroring your design ensures that it will be transferred onto your fabric in the correct orientation.

When it comes to application, make sure you're using the right temperature and pressure settings for your heat press or household iron. Follow the manufacturer's instructions for your specific vinyl and fabric type.

Finally, be patient when removing the transfer paper. Wait until the vinyl has cooled completely before peeling off the transfer paper. This will ensure that your design stays in place and doesn't lift or wrinkle.

printable heat transfer vinyl is a versatile and easy-to-use material that allows you to create custom apparel with high-quality and detailed designs. Whether you're creating t-shirts for a family vacation or designing merchandise for a small business, printable heat transfer vinyl is a great option to consider. Just follow these tips for successful application and you'll be creating custom apparel in no time!

Printable Iron-on Vinyl vs. Traditional Screen Printing: Which is Better

Printable Iron-on Vinyl vs. Traditional Screen Printing: Which is Better?

Printing custom designs on clothing and other textile products has become increasingly popular in recent years. Whether it's creating custom t-shirts for a family vacation or designing merchandise for a small business, the options for customization are endless. However, with so many printing methods available, it can be difficult to choose the right one for your project. Two popular options are printable iron-on vinyl and traditional screen printing. In this article, we'll compare these two methods and help you decide which one is better for your needs.

Transfer Printing Paper

What is Printable Iron on Vinyl?

Printable iron-on vinyl is a type of material that can be printed on using an inkjet printer. The vinyl is then cut into the desired shape or design and applied to fabric using a heat press or household iron. Printable iron-on vinyl is available in a variety of colors and finishes, including matte, glossy, and glitter.

Benefits of Printable Iron-on Vinyl

One of the biggest advantages of using printable iron-on vinyl is its ease of use. With just an inkjet printer, a cutting machine, and a heat press or household iron, you can create custom designs on fabric in no time. Printable iron-on vinyl is also easy to apply, making it a great option for beginners or those who don't have access to specialized equipment.

Another benefit of printable iron-on vinyl is its versatility. It can be used on a wide range of fabrics, including cotton, polyester, and even leather. This makes it a great option for creating custom clothing, tote bags, hats, and more.

Finally, printable iron-on vinyl is a cost-effective option for small-scale projects. It requires minimal equipment and can be done at home, which means you won't have to pay for expensive screen printing services.

What is Traditional Screen Printing?

Traditional screen printing is a process that involves creating a stencil, or screen, of the desired design. Ink is then pushed through the screen and onto the fabric using a squeegee. Each color in the design requires a separate screen, which can make the process time-consuming and expensive.

Benefits of Traditional Screen Printing

One of the biggest advantages of traditional screen printing is its durability. The ink used in screen printing is designed to bond with the fabric, which means it won't peel or fade over time. This makes it a great option for creating high-quality merchandise that will last.

Another benefit of traditional screen printing is its ability to produce vibrant, opaque colors. Because the ink is pushed through the screen and onto the fabric, it can create bold and bright designs that are difficult to achieve with other printing methods.

Finally, traditional screen printing is a great option for large-scale projects. Because the process requires creating screens for each color in the design, it can be expensive for small-scale projects. However, for larger orders, the cost per item can be significantly lower than other printing methods.

Which is Better: Printable Iron-on Vinyl or Traditional Screen Printing?

When it comes to choosing between printable iron-on vinyl and traditional screen printing, there is no clear winner. It ultimately depends on your specific needs and the nature of your project.

If you're looking for a cost-effective and easy-to-use option for small-scale projects, printable iron-on vinyl is a great choice. It's versatile, requires minimal equipment, and can be done at home.

However, if you're looking for a high-quality and durable option for larger-scale projects, traditional screen printing may be the way to go. It produces vibrant colors and is designed to last, making it a great option for merchandise or apparel that will be worn or used frequently.

In conclusion, both printable iron-on vinyl and traditional screen printing have their advantages and disadvantages. Consider your specific needs and the nature of your project before choosing the right printing method for you.

Customize Your Clothing with Printable HTV Vinyl

Customize Your Clothing with Printable HTV Vinyl: A Comprehensive Guide

Personalizing your clothing has never been easier, thanks to the increasing popularity of printable HTV vinyl. Whether you're a DIY enthusiast or a professional crafter, printable HTV vinyl allows you to create unique designs and add a personal touch to your clothing or accessories.

In this article, we'll cover everything you need to know about printable HTV vinyl, including what it is, how it works, and how you can use it to create custom clothing designs. So, let's dive in!

printable htv vinyl

What is Printable HTV Vinyl?

Printable HTV vinyl, also known as printable heat transfer vinyl, is a type of vinyl that can be printed on using an inkjet printer. It's a popular choice for creating custom designs, logos, or images that can be transferred onto fabric or other surfaces using heat.

Printable HTV vinyl is made up of a clear carrier sheet, a printable adhesive layer, and a heat-sensitive backing. The printable adhesive layer is what allows the vinyl to bond to the fabric or other surface, while the heat-sensitive backing is what allows the vinyl to be transferred onto the material using heat.

printable htv vinyl

How Does Printable HTV Vinyl Work?

The process of using printable HTV vinyl involves two main steps: printing the design onto the vinyl and transferring the design onto the fabric or other surface using heat.

Step 1: Printing the Design onto the Vinyl

To print your design onto the printable HTV vinyl, you'll need an inkjet printer and a design software program. You can use any design software that allows you to create and print your design onto the vinyl.

Once you've created your design, you'll need to print it onto the printable HTV vinyl. To do this, simply load the vinyl into your printer following the manufacturer's instructions and print your design onto the vinyl. It's important to note that you'll need to mirror your design before printing it onto the vinyl, as this will ensure that it's transferred onto the fabric or other surface correctly.

Step 2: Transferring the Design onto the Fabric

Once you've printed your design onto the printable HTV vinyl, it's time to transfer it onto the fabric or other surface using heat. To do this, you'll need a heat press or an iron, as well as a piece of fabric or other surface that you want to transfer your design onto.

To transfer your design onto the fabric, follow these steps:

1. Preheat your heat press or iron to the recommended temperature for the printable HTV vinyl that you're using.

2. Place the fabric onto the heat press or ironing board, and position your printed vinyl design onto the fabric.

3. Use the heat press or iron to apply heat and pressure to the vinyl for the recommended time, depending on the type of printable HTV vinyl that you're using.

4. Once the vinyl has been transferred onto the fabric, peel off the clear carrier sheet and allow the fabric to cool.

And that's it! You've successfully transferred your custom design onto your fabric using printable HTV vinyl.

Tips for Using Printable HTV Vinyl

Here are a few tips to keep in mind when using printable HTV vinyl:

1. Choose the right type of printable HTV vinyl for your project. There are different types of printable HTV vinyl available, including light and dark transfer vinyl, glitter vinyl, and more. Make sure to choose the right type of vinyl that's suitable for your project.

2. Test your design and vinyl before transferring it onto your fabric. It's always a good idea to test your design and vinyl on a small piece of fabric before transferring it onto your final product. This will help you to identify any issues or concerns before committing to the final transfer.

3. Follow the manufacturer's instructions for the printable HTV vinyl that you're using. Make sure to read and follow the manufacturer's instructions for the printable HTV vinyl that you're using, including the recommended temperature, pressure, and transfer time.

4. Use a heat press for best results. While you can use an iron to transfer your design onto the fabric, a heat press is recommended for best results. A heat press provides even pressure and heat distribution, ensuring a more precise and consistent transfer.

printable htv vinyl

Printable HTV vinyl is a great way to add a personal touch to your clothing and accessories. With its ease of use and versatility, it's no wonder that it's becoming increasingly popular among DIY enthusiasts and professional crafters alike.

By following the tips and guidelines outlined in this article, you'll be well on your way to creating custom designs and making your clothing stand out from the crowd. So, go ahead and get creative with printable HTV vinyl!

The Pros and Cons of Using Metallic Screen Printing Inks

The Pros and Cons of Using Metallic Screen Printing Inks: Exploring the Benefits and Drawbacks

Screen printing is a popular printing method used in various industries, from fabric printing to packaging and promotional materials. Screen printing ink is a crucial component of the process, and there are different types of inks available for different applications. Metallic screen printing inks are one of the options available, and they have unique qualities that make them stand out from other types of inks.

screen printing ink screen printing ink

In this article, we will explore the pros and cons of using metallic screen printing inks, and help you decide if they are the right choice for your next project.

Pros of Using Metallic Screen Printing Inks

1. Eye-catching and Attention-Grabbing: Metallic inks have a unique shine and sparkle that can add a touch of elegance and sophistication to any design. They are perfect for creating eye-catching and attention-grabbing designs, especially for packaging, promotional materials, and luxury products.

2. Versatile: Metallic inks can be used on a variety of surfaces, from paper and cardboard to fabrics and plastics. They can be combined with other inks to create different effects, such as metallic gradients or metallic overprints.

3. Durable: Metallic inks are known for their durability and resistance to fading and abrasion. They are ideal for printing on products that will be exposed to wear and tear, such as apparel, bags, and signage.

4. Cost-effective: Metallic inks are more affordable than other printing methods that use metallic foils or coatings. They can achieve similar effects at a lower cost, making them a budget-friendly option for small businesses and startups.

Cons of Using Metallic Screen Printing Inks

1. Limited Color Options: Metallic inks are available in a limited range of colors, usually silver, gold, and bronze. It can be challenging to achieve specific shades or hues using metallic inks alone, which can be a drawback for designers who require a wide color gamut.

2. Potential for Ink Migration: Metallic inks have a higher density than other types of inks, which can lead to ink migration. Ink migration occurs when the ink absorbs into the fabric or substrate, causing the design to lose its sharpness and clarity over time.

3. Longer Drying Time: Metallic inks have a longer drying time than other types of inks, which can slow down the printing process. It may require additional time and equipment to ensure that the ink is fully cured and dried before handling or packing the printed products.

4. Requires Special Handling: Metallic inks require special handling and storage to maintain their quality and consistency. They are sensitive to temperature and humidity changes, and exposure to light and air can cause the ink to oxidize and lose its metallic sheen.

screen printing ink

Metallic screen printing inks have their advantages and disadvantages, and it's essential to weigh them carefully before deciding to use them for your next project. They are eye-catching, versatile, durable, and cost-effective, but they also have limited color options, potential for ink migration, longer drying time, and require special handling.

If you're looking to create designs that stand out and add a touch of elegance and sophistication, metallic screen printing inks may be the right choice for you. They offer unique qualities that can't be achieved with other types of inks. However, if you require a wide color gamut or need to print on delicate fabrics or substrates, you may need to consider other options.

metallic screen printing inks are an excellent choice for many applications, but it's essential to understand their limitations and how to handle them correctly to achieve the best results. Consult with your printer or ink supplier to determine the best type of ink for your project and ensure that you get the desired outcome.

How to Use Inkjet Transfer Paper: Step-by-Step Guide

How to Use Inkjet Transfer Paper: Step-by-Step Guide

Inkjet transfer paper is a popular method of transferring images or designs onto fabric. It is easy to use and can produce high-quality results. In this article, we will guide you through the process of using inkjet transfer paper step by step.

inkjet-paper

What is Inkjet Transfer Paper?

Inkjet transfer paper is a type of paper that is specially designed to transfer images or designs onto fabric using an inkjet printer. The transfer paper has a special coating that allows the ink from the printer to be transferred onto the fabric. Once the image is printed onto the transfer paper, it can be transferred onto the fabric using heat.

Step 1: Choose the Right Transfer Paper

The first step in using inkjet transfer paper is to choose the right paper for your project. There are many different types of transfer paper available, each with its own unique properties. Some transfer papers are designed for use with light-colored fabrics, while others are designed for use with dark-colored fabrics. Make sure to choose the right transfer paper for your project.

Step 2: Prepare Your Image

Once you have chosen the right transfer paper for your project, the next step is to prepare your image. This can be done using a graphic design software such as Adobe Photoshop or Illustrator. Make sure to flip the image horizontally before printing it onto the transfer paper. This will ensure that the image is transferred onto the fabric the right way around.

Step 3: Print Your Image

Once your image is prepared, it is time to print it onto the transfer paper. Load the transfer paper into your inkjet printer according to the manufacturer's instructions. Make sure to use the correct settings for the type of transfer paper you are using.

Step 4: Trim Your Image

After the image has been printed onto the transfer paper, it is time to trim it to the desired size and shape. Make sure to leave a small border around the image to ensure that it can be transferred onto the fabric without any issues.

Step 5: Transfer Your Image

The final step in using inkjet transfer paper is to transfer your image onto the fabric. Place the transfer paper onto the fabric with the image facing down. Apply heat to the back of the transfer paper using a heat press or an iron. Make sure to follow the manufacturer's instructions for the correct temperature and duration of the heat transfer.

inkjet-paper

Conclusion

Inkjet transfer paper is a versatile and easy-to-use method of transferring images or designs onto fabric. By following these simple steps, you can create high-quality transfers that will last for years to come. Remember to choose the right transfer paper for your project, prepare your image correctly, and follow the manufacturer's instructions for the heat transfer process. With the right tools and a little bit of practice, you can become an expert at using inkjet transfer paper.

How to Troubleshoot Common Issues with Transfer Printing Paper

How to Troubleshoot Common Issues with Transfer Printing Paper

Transfer printing paper is a useful tool for creating high-quality images on various surfaces, including fabrics, ceramics, and even metal. However, like any printing method, it can encounter issues that may affect the quality of the final product. This article will provide you with a guide to help troubleshoot common issues you may encounter when using transfer printing paper.

Transfer Printing Paper

1. Problem: Image is not transferring to the surface properly
Solution: Make sure that you are using the correct type of transfer paper for the surface you are printing on. Also, ensure that the surface is clean and free of any dirt, dust, or oil. If the issue persists, try adjusting the pressure and heat settings on your transfer press.

2. Problem: The image is smudging or fading
Solution: The quality of the image transfer is affected by the ink quality, transfer paper quality, and the transfer process. Ensure that you are using high-quality ink and transfer paper, and follow the recommended transfer process. If the issue persists, try increasing the pressure and heat settings on your transfer press.

3. Problem: The image has a white border
Solution: This issue is usually caused by the transfer paper being incorrectly trimmed or not trimmed at all. Make sure to trim the transfer paper as close to the edge of the image as possible before transferring the image to the surface.

4. Problem: The image is not aligned correctly
Solution: Proper alignment is crucial to creating a high-quality image transfer. Use alignment marks or a laser alignment tool to ensure that the transfer paper is placed correctly on the surface. If the issue persists, consider using a transfer press with an alignment feature.

5. Problem: The image is not vibrant or has a faded look
Solution: This issue is often caused by using the incorrect color settings on your printer. Ensure that you are using the correct color settings for the transfer paper and surface you are printing on. If the issue persists, consider using a different brand of transfer paper or adjusting the pressure and heat settings on your transfer press.

Transfer Printing Paper

In conclusion, transfer printing paper is a versatile and effective way to create high-quality images on various surfaces. However, it is important to troubleshoot any issues that may arise to ensure that the final product meets your expectations. By following these tips and tricks, you can troubleshoot common issues and create stunning images that will last for a long time.

DTF Transfer Film Rolls: The Versatile Solution to All Your Printing Needs

DTF Transfer Film Rolls: The Versatile Solution to All Your Printing Needs

DTF (Direct to Film) transfer film rolls are a versatile solution to all your printing needs. These rolls of film are specially designed for use with DTF printing, a process that involves printing a design onto a special film using a digital printer and then transferring the design onto the fabric using a heat press. DTF transfer film rolls offer several advantages over traditional printing methods, including versatility, affordability, and ease of use. In this article, we'll explore the benefits of DTF transfer film rolls and how they can help you achieve your printing goals.

DTF Transfer Film

Versatility

One of the primary benefits of DTF transfer film rolls is their versatility. These rolls of film can be used on a wide range of fabrics, including cotton, polyester, and even leather. This makes them an ideal solution for businesses that want to offer a variety of products to their customers. With DTF transfer film rolls, you can create custom t-shirts, hats, bags, and more, all with high-quality, vibrant designs that won't fade or crack over time.

Affordability

Another advantage of DTF transfer film rolls is their affordability. Compared to traditional screen printing methods, which require expensive equipment and materials, DTF printing is a more cost-effective option. With DTF transfer film rolls, all you need is a digital printer, a heat press, and the film itself, making it an ideal option for small businesses and hobbyists.

Ease of Use

DTF transfer film rolls are also easy to use. The process involves printing your design onto the film using a digital printer, then transferring the design onto the fabric using a heat press. This process is quick and easy, allowing you to produce custom products in a matter of minutes. Additionally, DTF transfer film rolls are compatible with a wide range of digital printers, making them a versatile option for businesses and individuals alike.

Durability

One of the primary advantages of DTF transfer film rolls is their durability. The designs produced with DTF transfer film rolls are long-lasting and resistant to fading, cracking, and peeling. This makes them an ideal option for businesses that want to offer high-quality, long-lasting products to their customers.

Customization

Finally, DTF transfer film rolls offer a high degree of customization. With DTF transfer film rolls, you can create custom designs with intricate details and fine lines that would be difficult or impossible to achieve with traditional screen printing methods. This allows you to produce unique, one-of-a-kind products that will set your business apart from the competition.

In conclusion, DTF transfer film rolls are a versatile, affordable, and easy-to-use solution for all your printing needs. With their durability, customization options, and compatibility with a wide range of fabrics, DTF transfer film rolls are an ideal option for businesses and individuals looking to produce high-quality, long-lasting products. Whether you're a small business owner or a hobbyist, DTF transfer film rolls are sure to help you achieve your printing goals.

DTF Printing with Sublimation Ink: The Future of Custom Apparel

In the world of custom apparel printing, DTF (Direct to Film) printing with sublimation ink is emerging as the future of the industry. The process involves printing a design onto a special film using a digital printer and sublimation ink, then transferring the design onto the fabric using a heat press. DTF printing offers several advantages over traditional printing methods, making it a popular choice for businesses and individuals alike.

dtf-ink

One of the primary benefits of DTF printing with sublimation ink is the quality of the final product. The clarity and sharpness of the image are unmatched by traditional screen printing or heat transfer methods. Sublimation ink is specially formulated to create vibrant, long-lasting colors that won't fade or crack over time. Additionally, the DTF process allows for intricate designs and fine details to be printed with ease.

Another advantage of DTF printing with sublimation ink is the flexibility it offers in terms of materials. Unlike traditional screen printing, which is limited to certain types of fabrics, DTF printing can be used on a wide range of materials, including cotton, polyester, and even leather. This makes it a versatile option for businesses that want to offer a variety of products to their customers.

DTF printing with sublimation ink is also a more environmentally friendly option compared to traditional printing methods. Unlike screen printing, which requires the use of harmful chemicals and large amounts of water, DTF printing uses a dry process that produces no waste. The sublimation ink is also eco-friendly, as it is water-based and free of toxic chemicals.

The DTF printing process is also much faster than traditional screen printing methods. With DTF printing, designs can be printed and transferred onto fabric in a matter of minutes, compared to the hours or days it can take with screen printing. This allows businesses to produce custom products quickly and efficiently, which is essential in today's fast-paced market.

Finally, DTF printing with sublimation ink is a cost-effective option for businesses and individuals alike. Traditional screen printing requires expensive equipment and materials, and the process can be time-consuming and labor-intensive. DTF printing, on the other hand, requires only a digital printer, sublimation ink, and a heat press, making it a more affordable option for small businesses and hobbyists.

In conclusion, DTF printing with sublimation ink is the future of custom apparel. Its high-quality results, flexibility, eco-friendliness, speed, and cost-effectiveness make it the ideal choice for businesses and individuals looking to produce custom products quickly and efficiently. As the demand for custom apparel continues to grow, DTF printing with sublimation ink is sure to become an increasingly popular choice in the industry.