In the world of customization, there are plenty of ways to make personalized goods. There are processes like dye sublimation, direct to garment, screen printing, white toner printing, and much more.
And then, depending on which method you choose, there are different supplies you need for each. The whole thing can be a little confusing. Which method should you choose if you’re just starting up or expanding?
In this article, we’re going to focus on three processes and the differences between the types of paper used for them that most newcomers in the customization business might get mixed up.
Because these processes can be similar, it can be difficult to figure out why each paper needs to be different for each process.
So, let’s get started by first talking a bit about Inkjet Printing.
What is Inkjet Printing?
Inkjet printing is one of the most popular types of printing around. This is especially due to how long it’s been around.
You’ve most likely seen one of these desktop printers more than you think. They are typically used in the home or office settings because of their low upfront cost.
What inkjet printers do is spray droplets of ink on paper to form the text or images you send to it through your computer. This is one of the easiest and most affordable ways to get into the customization business.
To decorate a T-shirt with an inkjet printer, you simply must have the right paper. Other papers for different processes won’t work.
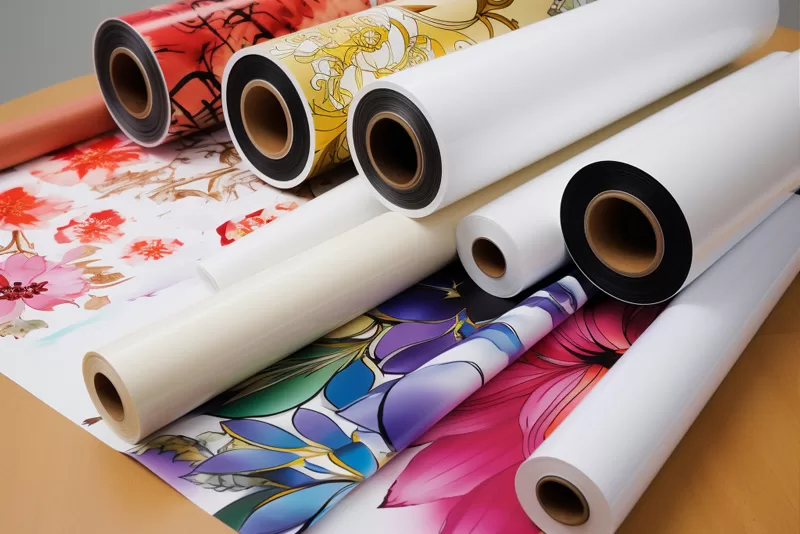
One example of heat transfer paper that we offer for inkjet printing is TransferJet Plus.
Like all heat transfer papers, TransferJet Plus is a specialty paper that transfers designs on different substrates once heat is applied.
But TransferJet Plus can’t be used for every kind of shirt. This paper is specifically designed for white and light-colored shirts, meaning you would have to purchase a different kind of heat transfer paper for dark colored or black shirts.
How Does Heat Transfer Paper Function?
As mentioned before, decorating t-shirts and other substrates with heat transfer paper is incredibly easy and inexpensive.
Basically, you print an image on your printer, in this case, an inkjet printer, on heat transfer paper. Then you place it on the substrate and press it with a heat press.
Here are more in-depth instructions:
- Select your design on your computer and send it to the printer.
- Print the design on heat transfer paper.
- Place the printed transfer on your t-shirt or substrate.
- Trim around the edges of the transfer.
- Use your heat press to heat and apply the transfer to your t-shirt or substrate.
- Peel off the paper to reveal the finished product!
Now, this process can differ a bit depending on which paper you’re using. If you’re using heat transfer paper that is designed for black or dark-colored garments, it’s recommended to trim around the edges of the transfer before applying it to the substrate.
If you don’t trim around the edges, then any unprinted areas of the transfer will have a white border. This is due to the fact that transfer paper for dark substrates are made with white opaque material.
Because inkjet printers use CMYK inks, the white opaque material is needed so that your transfer isn’t invisible.
The paper we briefly talked about before, 3G Jet Opaque, would be a great example of this.
If you’re using a specific type of heat transfer paper to decorate white or light-colored garments, it will not have a white opaque backing. Instead, it’s transparent so there will be no white border.
However, there’s still a “feel” to this transparent film so it’s still recommended to trim around the edges for best results.
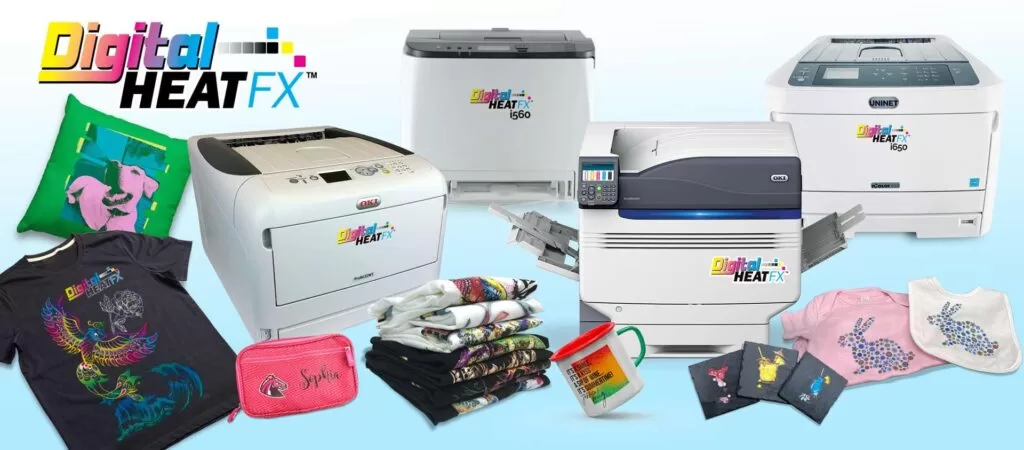
What is White Toner Printing?
Unlike inkjet printers, white toner printers require no ink to create full-color transfers. This is because most white toner printers use CMYW toners.
White toner printers that have CMYW toners, don’t have black toners. This means all the other colors form a composite black.
Because of the white toner found in these printers, there is no need for white opaque backgrounds for dark garments like some inkjet heat transfer papers need.
White toner printing has taken the customization business by storm. It’s easy to learn and extremely versatile.
Different from inkjet and sublimation, white toner printing is more costly to get into, but the toners will last longer because they don’t dry up as inks do.
How Does White Toner Transfer Paper Work?
White toner transfer paper, This printing process is like inkjet printing in the sense that it will be heat applied using almost the same steps. However, they differ because white toner transfers are self-weeding, which means there is no weeding, cutting, or trimming involved.
With that being said, you can get more detailed and intricate with your artwork and designs because you won’t have to worry about cutting or trimming artwork where it’s not feasible.
So here are the basic steps on how to use EZ Peel white toner transfer paper to print designs.
- Print your design or graphic on the “A” sheet of paper using your white toner printer.
- Perform the marrying step by heat applying the “B” or polymer sheet to the “A” sheet on your heat press.
- Slowly and carefully, peel the “B” sheet off the printed transfer or “A” sheet.
- Place the transfer on your t-shirt or garment and press for the recommended time.
- Let the substrate and transfer cool by removing it from the heat press.
- Once it’s cool, rip the sheet off quickly.
- Perform a finishing press with a finishing sheet and reveal a finished product!
Because white toner transfer paper is much lighter in weight than inkjet paper, white toner transfers have a better “hand.” Basically, what this means is after being heat applied to a garment, these transfers feel softer on the shirt.
In terms of washability, white toner transfers have the upper hand. With the ability to rasterize or create tiny holes in the artwork, water can pass through the garment more easily during the laundry process.
By doing so, this adds to the garment’s life cycle compared to inkjet transfers.
What is Sublimation?
Sublimation is probably a process you’ve heard of before. It’s one of the easiest ways to decorate t-shirts and other items.
Just like both other processes discussed in this article, sublimation requires a specialty printer and paper to get started. It’s also achieved by heat application as well.
However, it differs greatly in the actual process. With sublimation printing, dye-based inks turn from solid to gas when heat is involved.
Once turned into a gas, it will dye the fabric. But because the ink dyes the fabric, sublimation transfers can’t be applied to dark colored fabrics or any material besides polyester.
Sublimation transfers can only be applied to white or light-colored materials that are polyester coated. Compared to inkjet and white toner printing, sublimation has the most limitations.
However, like white toner transfers, sublimation transfers can be applied to hard surface items.
How Does Sublimation Paper Work?
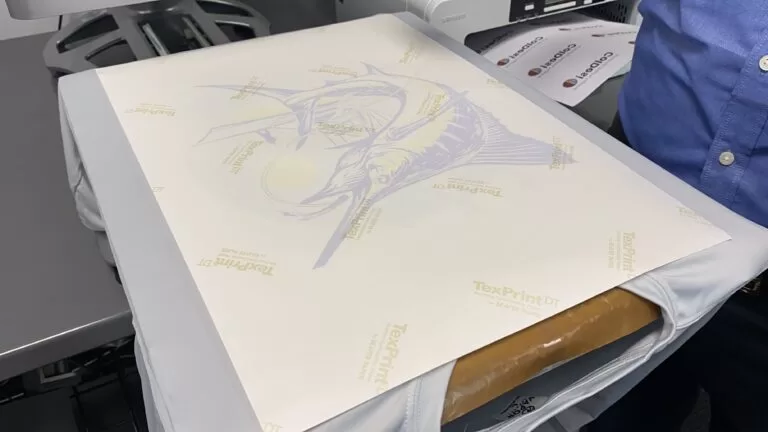
Just like you can’t go out and buy any blanks for your sublimation printer, the same goes for sublimation paper. Kenteert offer high-quality sublimation paper.
This paper is made for sublimation and ONLY sublimation.
Since sublimation takes place when a fabric is dyed by gas, there is no weeding required. This is what makes it different from inkjet transfers but like white toner transfers.
Unlike the way inkjet paper leaves a feel and weight to a t-shirt, sublimation doesn’t. It leaves an extremely soft hand because the design is technically in the fibers of the shirt rather than on top.
It’s a bit more durable than the other two paper types as well so the designs won’t crack or fade as quickly.
Just to paint the picture of how sublimation paper plays a role in the printing process, we’ll go over the steps below on how to decorate a t-shirt.
- Print your design on sublimation paper with a sublimation printer
- Heat apply the printed transfer to the t-shirt for the recommended time, temperature, and pressure using a heat press.
- Carefully remove the transfer from the t-shirt and reveal the finished product!
This is an example of just how easy sublimation is. The same can be said for other substrates like mugs, coasters, tote bags, and much more.
Next, we’ll summarize all the differences and similarities between inkjet, white toner, and sublimation paper based off what you’ve learned earlier.
How Do These Different Papers Compare and Contrast?
| Inkjet Paper | White Toner Paper | Sublimation Paper | |
| Self Weeding | No | Yes | Yes |
| Hand/Feel | Transfers on darks are thick and heavy. Transfers on lights are not as heavy but still have a feel to them. If not trimmed, unprinted areas have a feel. | Soft/light hand feel on most papers. | No hand due to the dyeing process. |
| Designs can go on dark and light garments | Yes, but will need different inkjet papers for each. | Yes | No, sublimation transfers can only be applied to white/light colored garments made of polyester. |
| Fabrics that can be printed on | Cotton, polyester, blends. | Cotton, polyester, blends. | Polyester and polyester coated hard goods. |
| Can Print on Hard Surfaces | No | Yes | Yes |
| Startup Costs | Very Low | Moderate | Low |