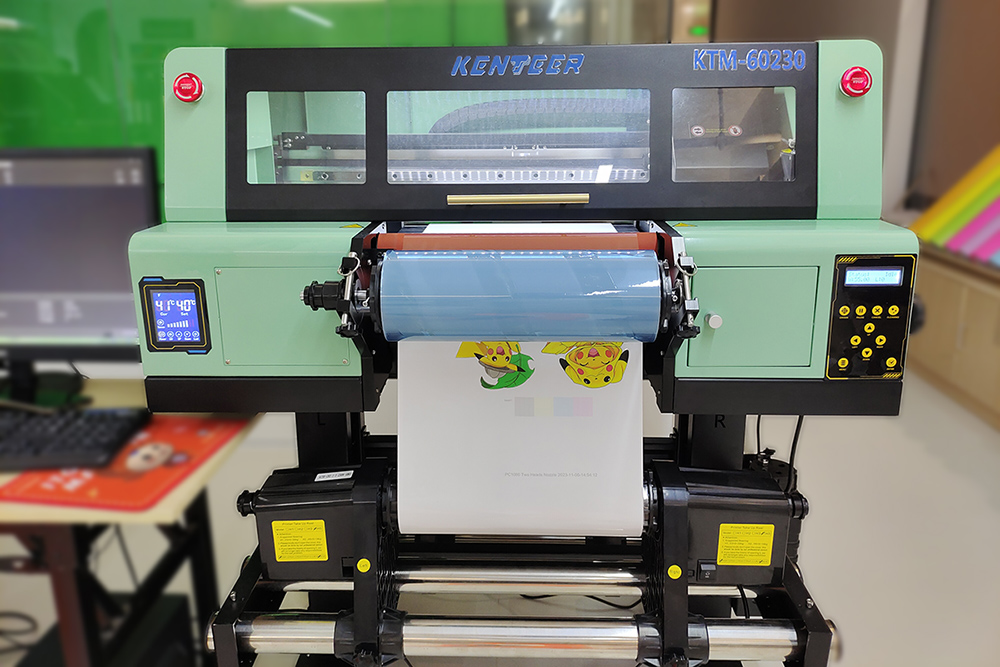
Inkjet clogging can be a common issue in digital sublimation printers, leading to print quality problems and reduced productivity. Here are some common causes and solutions to help resolve inkjet clogging:
Causes of Inkjet Clogging:
1. Inconsistent Printer Usage: If the printer is not used regularly or has long periods of inactivity, the ink can dry up and clog the printhead nozzles.
2. Low-Quality or Contaminated Ink: Using low-quality or contaminated sublimation ink can lead to clogging issues. Ink with impurities or improper formulation can cause blockages in the printhead.
3. Improper Maintenance: Inadequate or irregular printer maintenance, such as infrequent printhead cleanings or failure to perform regular maintenance cycles, can contribute to inkjet clogging.
4. Environmental Factors: Extreme temperature and humidity conditions, as well as exposure to dust or debris, can affect the performance of the printer and contribute to clogging.
Solutions to Inkjet Clogging:
1. Regular Printer Usage: To prevent ink from drying up and clogging the printhead, it is important to use the printer regularly. If possible, perform a small print job or nozzle check at least once a day to keep the ink flowing.
2. High-Quality Ink: Ensure that you are using high-quality sublimation ink that is compatible with your printer. This will reduce the chances of clogging due to impurities or improper formulation. Purchase ink from reputable suppliers to ensure its quality.
3. Proper Maintenance: Follow the manufacturer's recommended maintenance procedures for your specific printer model. This typically includes regular printhead cleanings, replacing or flushing ink cartridges as needed, and performing routine maintenance cycles.
4. Printhead Cleaning: If clogging occurs, perform printhead cleaning cycles using the printer's software or control panel. Follow the instructions provided by the manufacturer to ensure proper cleaning. This process can help unclog blocked nozzles and restore print quality.
5. Nozzle Check and Alignment: Regularly perform nozzle checks to identify any clogged nozzles. If clogs are detected, use the printer's software to perform printhead alignment and nozzle cleaning routines to clear the blockages.
6. Environmental Control: Maintain a suitable environment for the printer, with controlled temperature and humidity levels. Protect the printer from dust and debris by covering it when not in use and regularly cleaning the surrounding area.
7. Flushing and Purging: If severe clogging persists, consider performing a more thorough printhead cleaning by flushing and purging the ink system. This process involves removing and cleaning the printhead or using specialized cleaning solutions to dissolve stubborn clogs.
If the above solutions do not resolve the inkjet clogging issue, it is recommended to contact the printer manufacturer's technical support for further assistance. They can provide specific guidance based on your printer model and help diagnose and resolve the clogging problem.
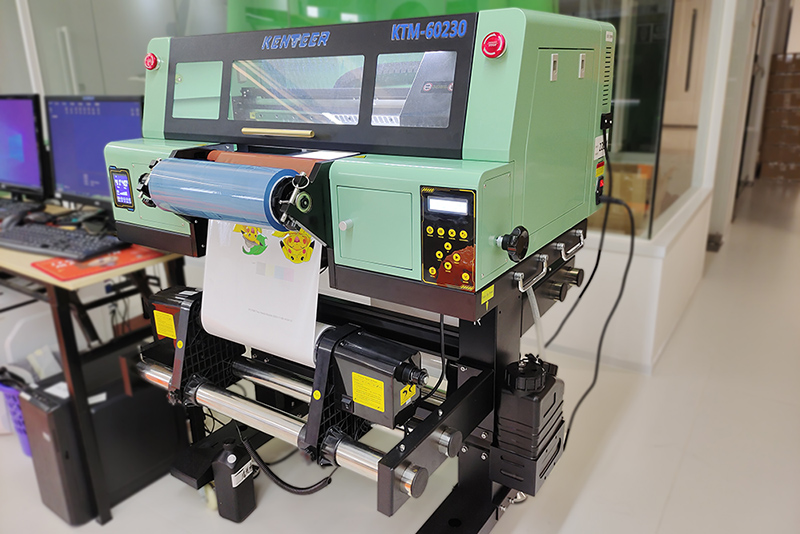
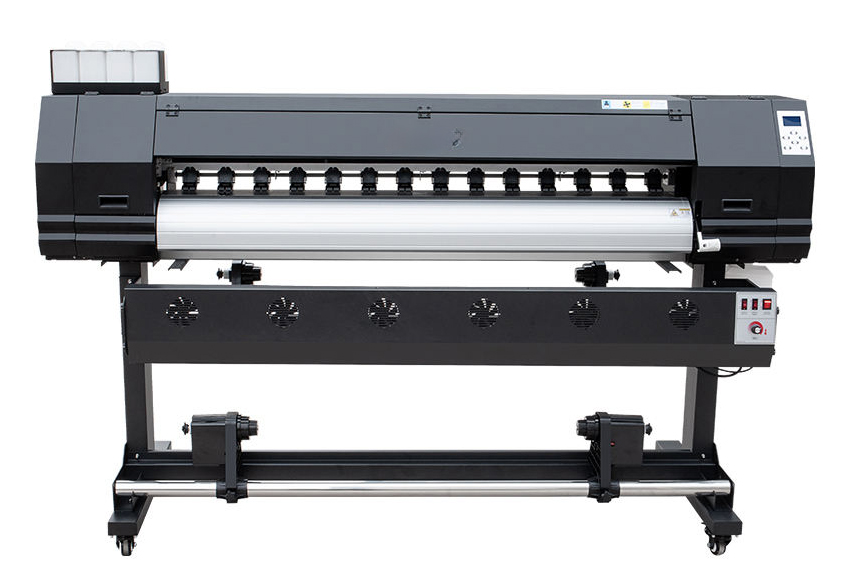
kenteer has launched Digital Sublimation Printer for customers . If you have any needs, you can contact us for a quote.