Heat press machines are essential tools used in various industries, including garment decoration, signage production, and product customization. They employ a combination of heat and pressure to transfer designs, images, and words onto various materials. This advanced technology allows for precise and efficient application of graphics onto substrates like fabrics, metal, plastic, and more.
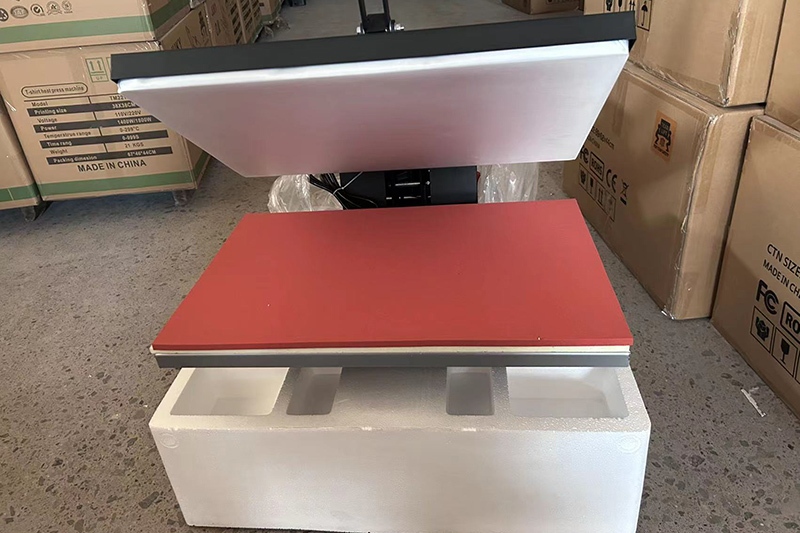
Plate Type:Screen Printer
Color & Page:Multicolor
Voltage:220V
Applicable Industries:Garment Shops, Retail, Printing Shops, Other
Place of Origin:Fujian, China
Usage:T-shirt printer
Weight:32 KG
Warranty:1 Year
Key Selling Points:Easy to Operate
Driven Type:Electric
Type:Heat Press Machine
Temperature Range(℃):0-399
Working Mechanism of a Heat Press Machine:
Heating Element: The heat press machine comprises a heating element, typically made of ceramic or metal, that generates heat when an electric current passes through it. This heating element is responsible for transferring heat to the substrate.
Temperature Control: The machine's temperature is precisely controlled using a thermostat or digital controller. This allows users to set and maintain the desired temperature required for the specific material and application.
Pressure Application: A mechanical or hydraulic system applies pressure to the heating element, pressing it against the substrate. This pressure ensures effective transfer of heat and design onto the material.
Timer Setting: Heat press machines often have a built-in timer that regulates the duration of heat and pressure application. This ensures accurate and consistent results by preventing over- or under-heating of the substrate.
Transfer Process: During the transfer process, the substrate is placed on a base platen, and the design is positioned on top. The heating element is then lowered onto the substrate, applying heat and pressure simultaneously. The heat and pressure cause the design to adhere to the substrate, resulting in a permanent transfer.
Operating a Heat Press Machine:
Preparation: Before using the heat press machine, ensure it is properly set up and calibrated. Check the temperature and pressure settings according to the recommended specifications for the specific material and application.
Substrate Placement: Position the substrate on the base platen, ensuring it is flat and wrinkle-free. For garments, use a pressing pad or Teflon sheet to protect the surface from direct heat.
Design Placement: Place the design onto the substrate, aligning it precisely with the desired location. Use heat-resistant tape or adhesive to secure the design in place if necessary.
Temperature and Pressure Adjustment: Set the temperature and pressure settings according to the manufacturer's guidelines and the specific material being used. Different materials may require different temperature and pressure combinations.
Transfer Process: Close the heat press machine and activate the timer. Allow the machine to apply heat and pressure for the specified duration. The timer ensures accurate and consistent transfer results.
Removal and Cooling: Once the transfer process is complete, carefully remove the substrate from the machine. Allow it to cool down completely before handling or moving it.
Additional Tips for Effective Heat Press Operation:
Material Compatibility: Always check the compatibility of the substrate with the heat press transfer method. Some materials may not be suitable for heat transfer due to their composition or properties.
Test Runs: Conduct test runs on scrap materials before applying designs to actual substrates. This helps fine-tune the temperature and pressure settings and avoid potential issues.
Regular Maintenance: Keep the heat press machine clean and well-maintained. Clean the heating element and platens regularly to prevent dirt and residue buildup.
Safety Precautions: Always follow safety guidelines and wear appropriate protective gear while operating the heat press machine. Handle the machine with care, avoiding contact with heated surfaces.
Continuous Learning: Stay updated with the latest techniques and best practices in heat press technology to achieve optimal results and ensure the longevity of your machine.
By understanding the working principles, following the proper operating procedures, and implementing these additional tips, you can effectively use a heat press machine to create professional-quality transfers on a variety of materials.
Kenteer supplies heat press machines. Customers in need are welcome to contact us.