The DTF oven plays a crucial role in the DTF printing process, enabling the successful transfer of designs onto various substrates. This article delves into the intricate working mechanism of the DTF oven, exploring the fundamental principles that govern its operation.
1. Overview of DTF Printing Process:
The DTF printing process involves several distinct steps, each contributing to the final high-quality transfer.
Printing: The initial stage entails printing the desired design onto a special DTF film using a modified inkjet printer.
Applying Adhesive Powder: Once printed, the film is covered with adhesive powder, which adheres to the ink, creating a raised texture.
Curing: The film is then placed inside the DTF oven, where it undergoes a curing process that solidifies the adhesive powder and ensures its proper bonding with the ink.
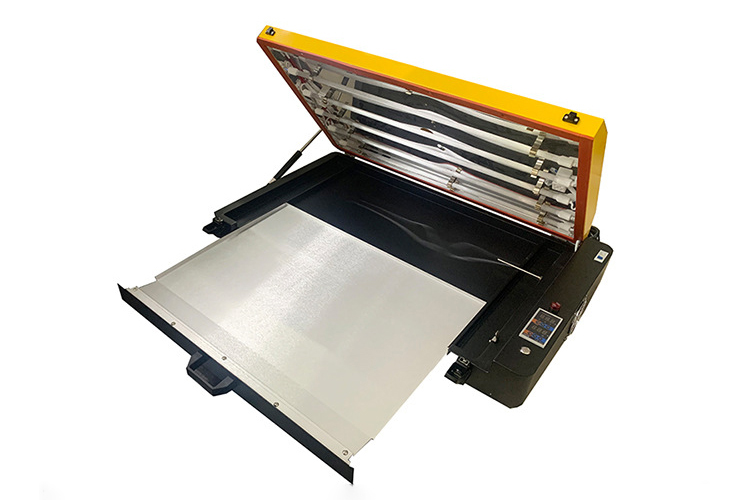
2. DTF Oven: The Heart of the Curing Process:
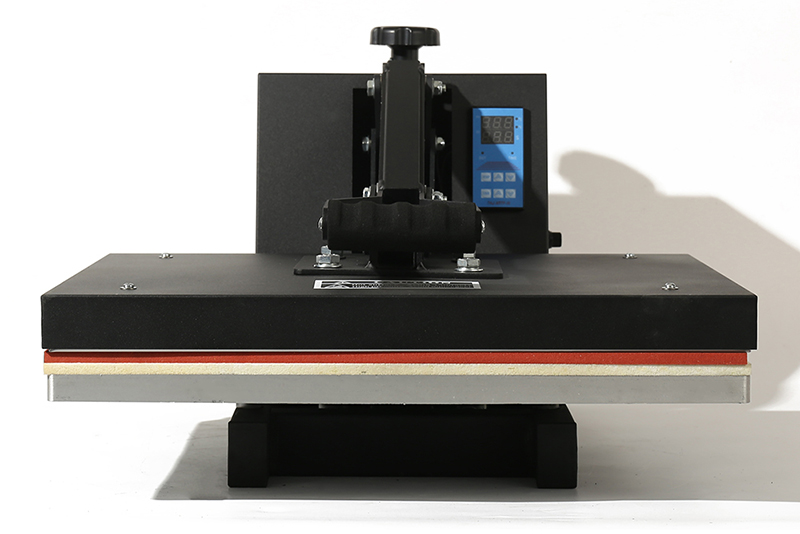
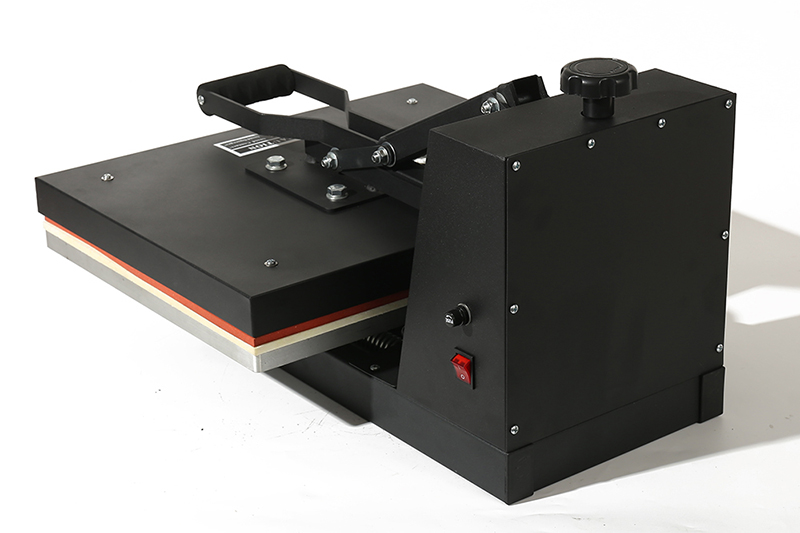
The DTF oven is a specialized heating device designed specifically for curing DTF films. It consists of a temperature-controlled chamber that evenly distributes heat, facilitating the curing process.
3. Curing Mechanism:
The DTF oven utilizes a combination of heat and pressure to achieve effective curing.
Heat Application: The oven's heating element generates heat, which is precisely controlled to reach the optimal temperature required for curing the adhesive powder. This heat causes the powder particles to melt and fuse with the ink, forming a durable bond.
Pressure Application: In addition to heat, the DTF oven also applies gentle pressure to the film, ensuring intimate contact between the adhesive powder and the ink. This pressure promotes uniform curing, preventing the formation of air bubbles or inconsistencies.
4. Temperature and Time Control:
The DTF oven's curing process is carefully controlled to ensure the desired results. Temperature and time are two critical parameters that significantly impact the curing outcome:
Temperature: The oven's temperature is precisely regulated to achieve the optimal curing temperature for the specific DTF film and adhesive powder being used. Proper temperature ensures complete curing without damaging the film or compromising the adhesion of the ink.
Time: The curing time is also precisely controlled to allow sufficient time for the adhesive powder to fully melt and fuse with the ink. Too short a curing time may result in incomplete curing, leading to poor adhesion, while excessive curing can cause the film to become brittle.
5. Benefits of Using a DTF Oven:
Incorporating a DTF oven into the DTF printing process offers several advantages:
Efficient Curing: The oven provides a consistent and controlled curing environment, ensuring efficient and reliable curing of the DTF film.
High-Quality Results: The precise temperature and time control enable optimal curing, resulting in high-quality transfers with excellent adhesion and vibrant colors.
Versatility: DTF ovens can accommodate a wide range of DTF films and adhesive powders, making them suitable for various applications.
User-Friendly Operation: DTF ovens are designed for ease of use, featuring intuitive controls and user-friendly interfaces.
The DTF oven plays a vital role in the DTF printing process, delivering reliable and efficient curing of DTF films. Its carefully controlled temperature and time parameters ensure optimal curing, resulting in high-quality transfers with excellent adhesion and vibrant colors. By employing a DTF oven, businesses can achieve consistent and professional results, expanding their capabilities in the realm of digital printing.