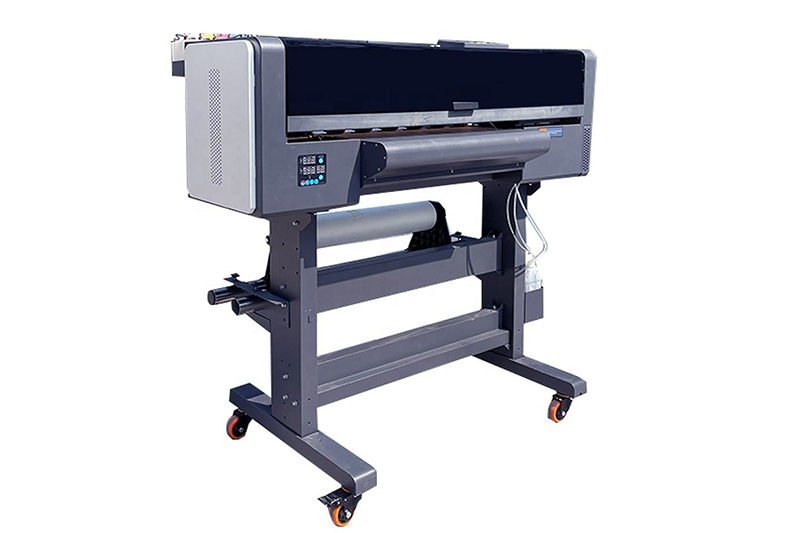
The KTM-A10 DTF Printer from Kenteer is a powerful tool for creating vibrant and durable prints on a variety of fabrics. This innovative DTF printer combines high-resolution output with user-friendly features, making it an ideal choice for both beginners and experienced users. To help you unlock the full potential of your KTM-A10 and achieve professional-quality results, we've compiled a comprehensive guide filled with essential tips and tricks.

DTF, or Direct-to-Film printing, is a revolutionary technology that allows you to transfer high-quality designs onto various fabrics, including cotton, polyester, blends, and more. The KTM-A10 utilizes this technology to print your designs onto a special PET film coated with a hot-melt adhesive. After printing, the design is sprinkled with white DTF powder, which adheres to the wet ink. Once heat-pressed, the design is transferred from the film to the fabric, resulting in a vibrant and durable print.
Getting Started with Your KTM-A10 DTF Printer:
1. Installation and Setup: Begin by carefully unpacking and inspecting your KTM-A10 DTF Printer. Ensure all components are present and undamaged. Follow the instructions provided in the user manual for proper installation of the printhead, ink cartridges, and other components. Connect the printer to your computer and power source. Download and install the Maitop 6.1 software, which provides the interface for designing and sending prints to your KTM-A10.
2. Software Familiarization: Take some time to explore the features and functionalities of the Maitop 6.1 software. Familiarize yourself with the layout, tools, and settings. Experiment with creating basic designs, adjusting print parameters like resolution and color profiles. The software offers comprehensive control over your DTF printing process.
3. Pre-Printing Preparations: Proper preparation is crucial for achieving optimal results with your KTM-A10 DTF printer. Select the appropriate DTF film and ensure it is clean and free of dust or debris. Choose the right type of DTF ink for your project, considering the fabric you will be printing on. Pre-treating darker fabrics with a DTF pretreatment solution can enhance ink adhesion and vibrancy.
Optimizing Your Printing Process:
1. Print Settings and Resolution: The KTM-A10 offers various print resolutions to suit different project needs. For highly detailed designs or vibrant colors, choose a higher resolution like 360*3600dpi. Adjust the print speed accordingly. Slower speeds generally yield higher quality for intricate designs.
2. Ink Management: Regularly monitor ink levels to avoid print interruptions or inconsistencies. Utilizing the correct color profiles within the software ensures accurate color reproduction on your chosen fabric. Proper ink management ensures consistent print quality and prevents clogging issues.
3. Pretest and Calibration: Before committing to a full print run, always perform test prints on a scrap piece of the same fabric you intend to use. This allows you to fine-tune print settings, color profiles, and ensure the desired outcome. Regularly calibrate your printer to maintain color accuracy and print quality.
4. Heat Pressing Techniques: Heat pressing is a critical step in the DTF printing process. Utilize a heat press with accurate temperature control. Preheat the fabric to remove moisture and wrinkles. Adjust the time, temperature, and pressure settings based on the fabric type and ink manufacturer recommendations. Employ a heat-resistant sheet to protect your design during pressing.
By following these comprehensive tips and tricks, you can maximize the potential of your KTM-A10 DTF Printer and create stunning, professional-grade prints on a wide range of fabrics. Embrace the power of DTF printing and unlock a world of creative possibilities.
If you have product purchasing needs, you can contact us.
