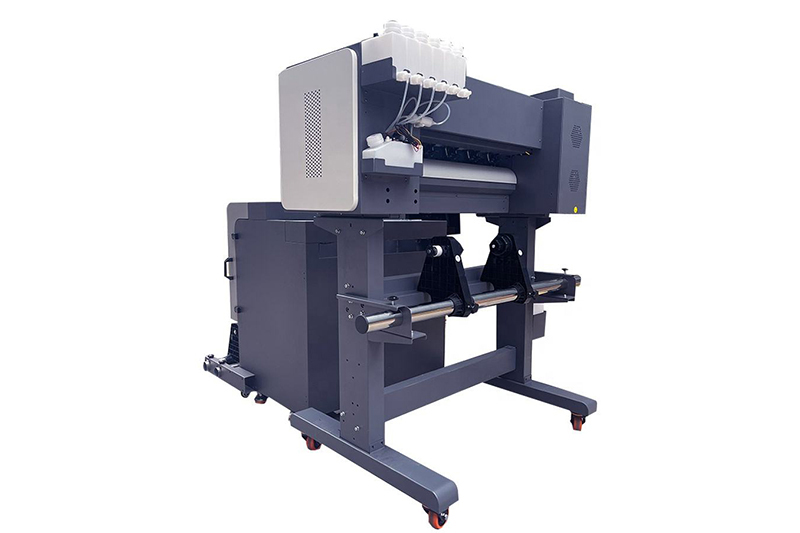
The world of garment printing has been revolutionized by Direct-to-Film (DTF) printing technology, offering a versatile and affordable alternative to traditional methods. The KTM-A16 DTF Printer makes professional-quality printing accessible to everyone, whether you're a seasoned pro or just starting out. This guide will walk you through the basics, ensuring you're equipped to achieve stunning results right from the start.

Understanding DTF Printing:
DTF printing involves printing your design onto a special PET film using a DTF printer like the KTM-A16. This film is then sprinkled with a hot melt powder that adheres to the printed ink. Heat is then applied to melt the powder, creating a durable transfer that can be pressed onto a variety of fabrics.
Getting Started with Your KTM-A16:
Unboxing and Setup: Carefully unpack your KTM-A16 DTF Printer and refer to the user manual for assembly instructions. Connect the printer to your computer and install the provided Maitop 6.1 software. Familiarize yourself with the software interface and its various functions.
Ink and Media Preparation: The KTM-A16 utilizes a 10-color textile pigment ink system (FY/FM/FB/FR/FG/C/M/Y/K/W) for vibrant and long-lasting prints. Ensure the ink cartridges are properly installed and primed according to the manufacturer's guidelines. Load the appropriate DTF film into the printer, ensuring it aligns with the feeding mechanism.
Design and Print Settings: Import your desired design into the Maitop 6.1 software. Adjust the print settings based on your chosen fabric and desired finish. The KTM-A16 offers various print resolutions (3602400dpi, 3603600dpi, 720*2400dpi) and pass modes (3Pass, 6Pass, 8Pass) to fine-tune your output. For beginners, it's recommended to start with the default settings and experiment as you gain experience.
Printing Process: Once your design and settings are finalized, initiate the printing process. The KTM-A16 boasts a respectable print speed of up to 4.5㎡/h, allowing for efficient production runs. Monitor the printing process closely to ensure proper ink application and film feeding.
Applying the Powder: After printing, immediately apply an even layer of hot melt powder onto the printed design while the ink is still wet. The KTM-A16's powder dryer simplifies this step, ensuring even powder distribution and adhesion. Shake off any excess powder before moving on to the next step.
Curing the Transfer: Use a heat press to cure the printed film with the applied powder. The recommended ironing temperature is between 160-170℃. Follow the instructions provided with your heat press for optimal time and pressure settings.
Peeling and Application: Once the transfer has cooled, carefully peel away the PET film. You can choose between a cold or hot peel depending on the desired effect. Finally, position the transfer onto your chosen garment and use the heat press once again to adhere it permanently.
The KTM-A16 DTF Printer puts the power of professional-grade garment printing in your hands. With its user-friendly interface, versatile features, and exceptional print quality, it's the perfect tool for anyone looking to explore the exciting world of DTF printing. Follow these simple steps and unlock your creative potential, bringing your designs to life on a wide range of fabrics with stunning results.
If you have product purchasing needs, you can contact us.
